

Chess Board Night Stand
January 17, 2014Finished Product First:

The Building Process:
After I made a longboard at the UO Craft Center, I decided I needed to hone my craft and make something more complex. I started looking for some inspiration online and kept coming back to chessboards. I also needed another night stand to balance out the fung shui in my room. I was worried that this project might be a bit ambitious for a short class (3 hours a week x 10 weeks), but I figured if I ran out of time, at least I would have a nice chessboard.
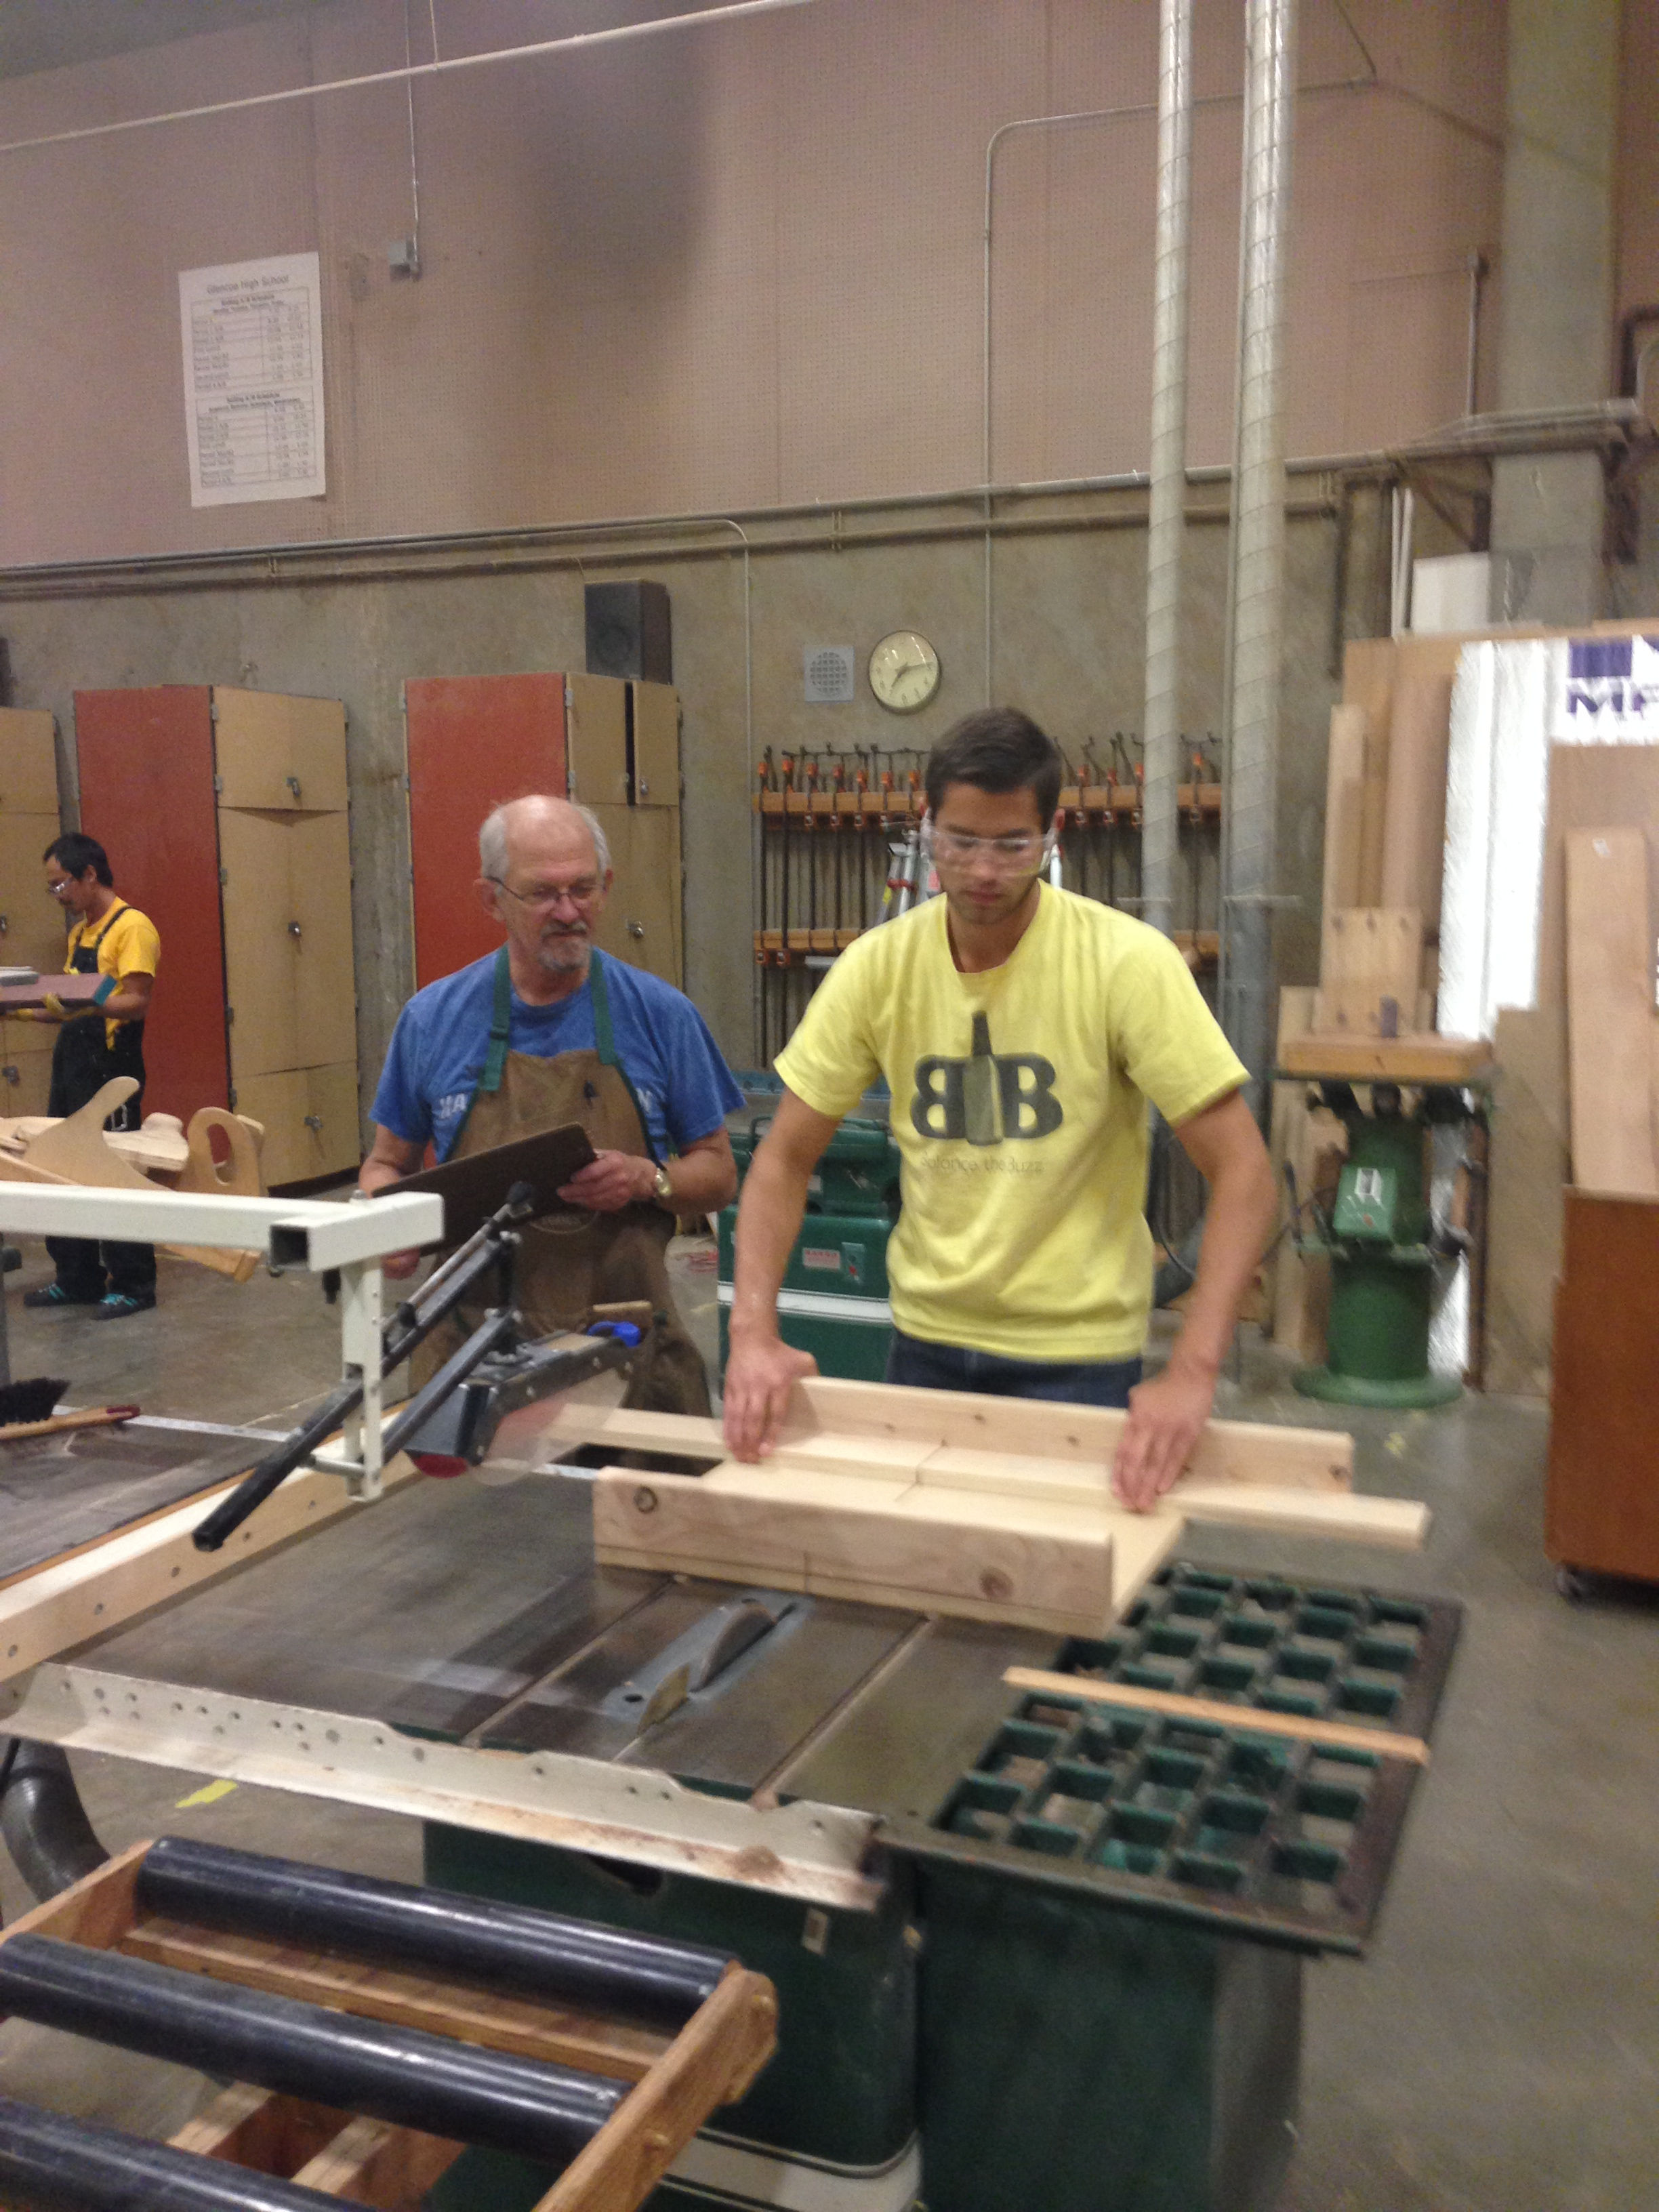
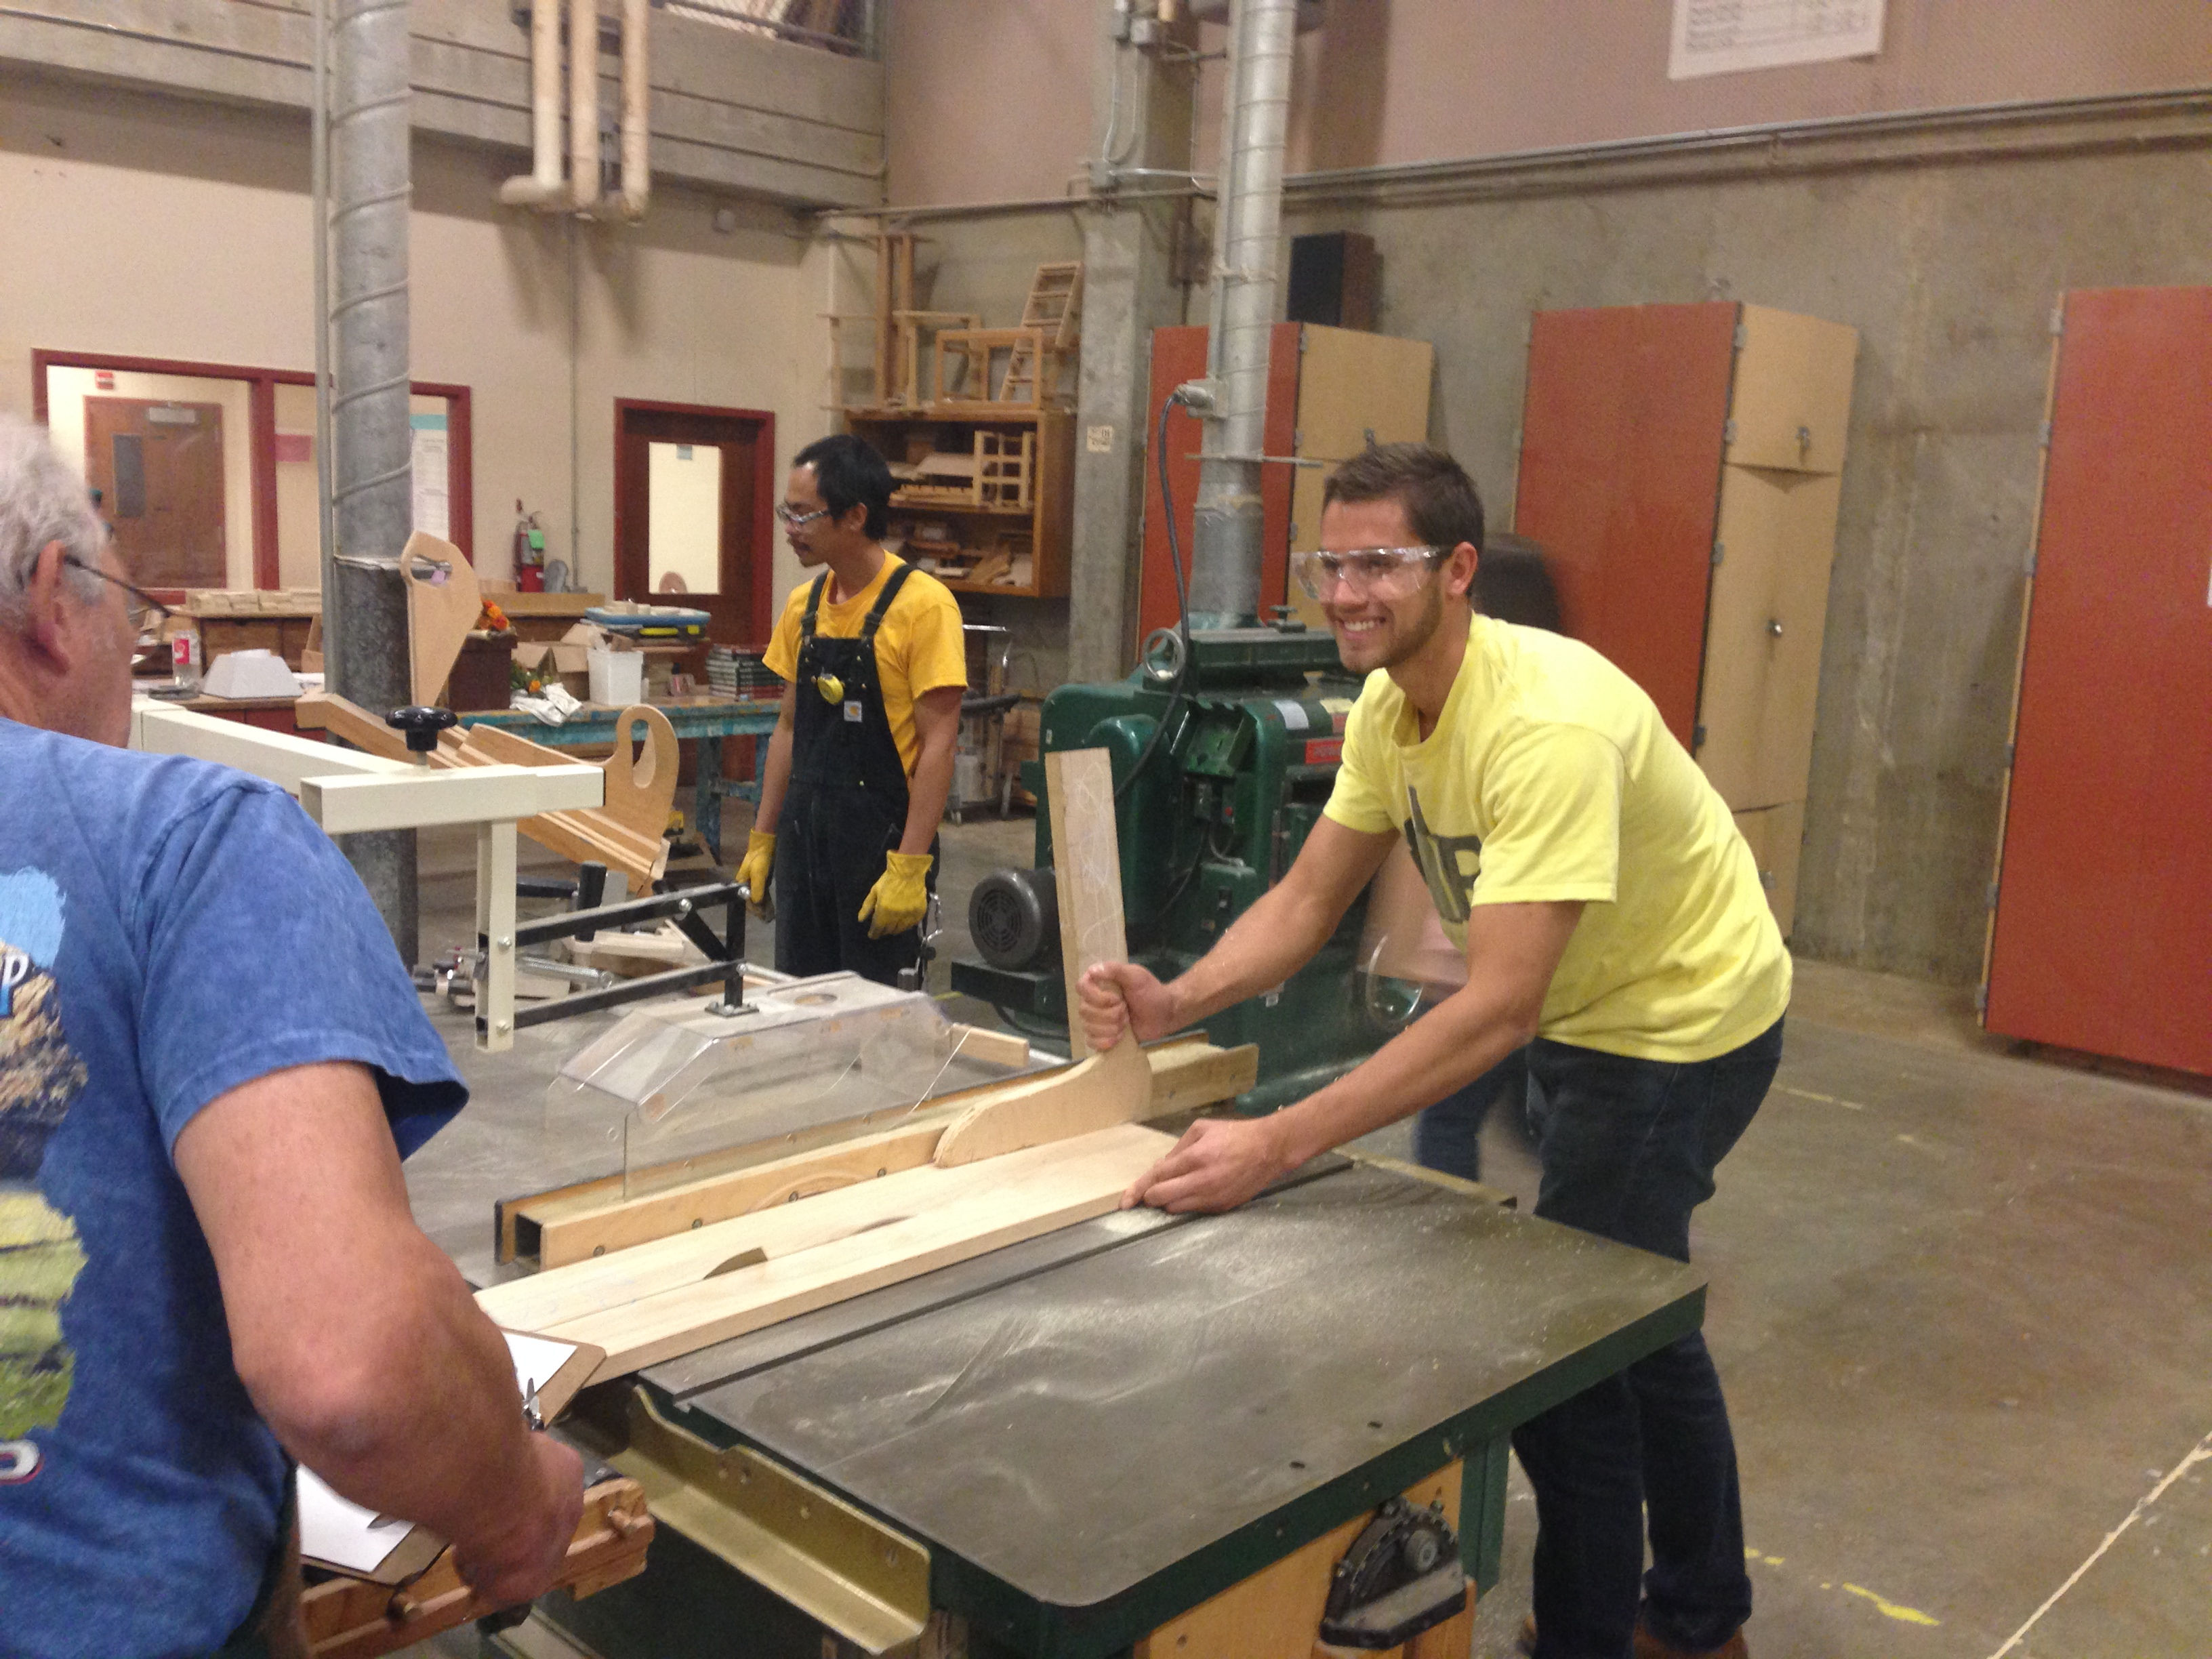
I took the class with my friend/coworker/carpool buddy Rob Gillin. Under the tutelage of master woodworker Bob, we learned a lot and made some cool projects.
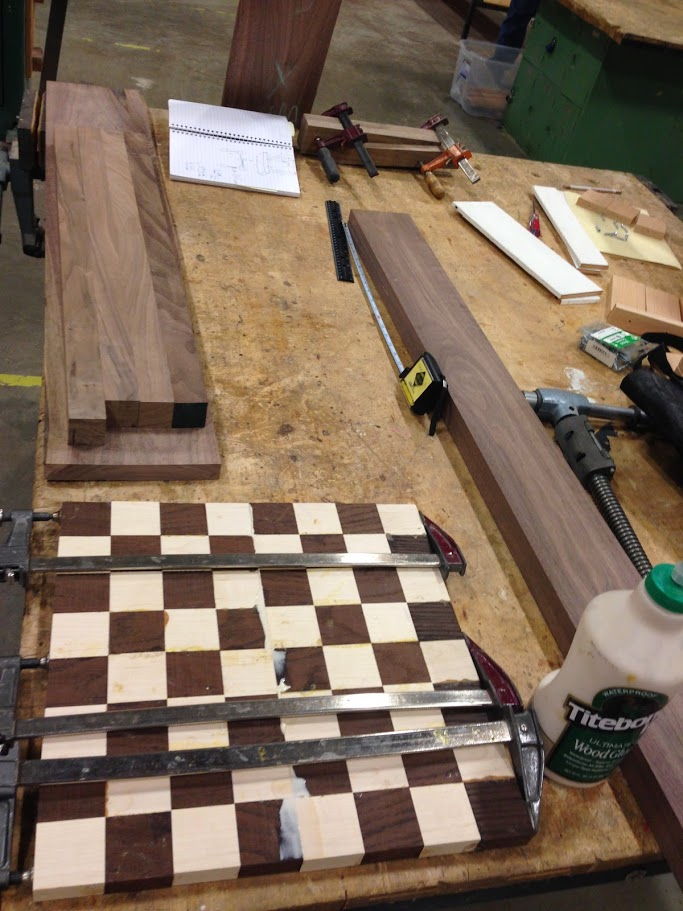
In the beginning, I didn't take too many photos because there was nothing too exciting about cutting a few strips of wood and gluing them together. Here is one of my first cuts of the project:
After cutting the strips to the desired length of one side of the final square, you glue them in alternating colors (light / dark) repeating so you eventually have a group of 8 strips. Sometimes it is hard to glue more than 2 pieces of wood together at a time, so I would clamp pairs together then after about 30 minutes, they could be combined to another set.
Eventually, you will have 8 strips of alternating wood all glued together. Do not worry about planing or sanding, as this board still needs to get cut perpendicular to the strips.
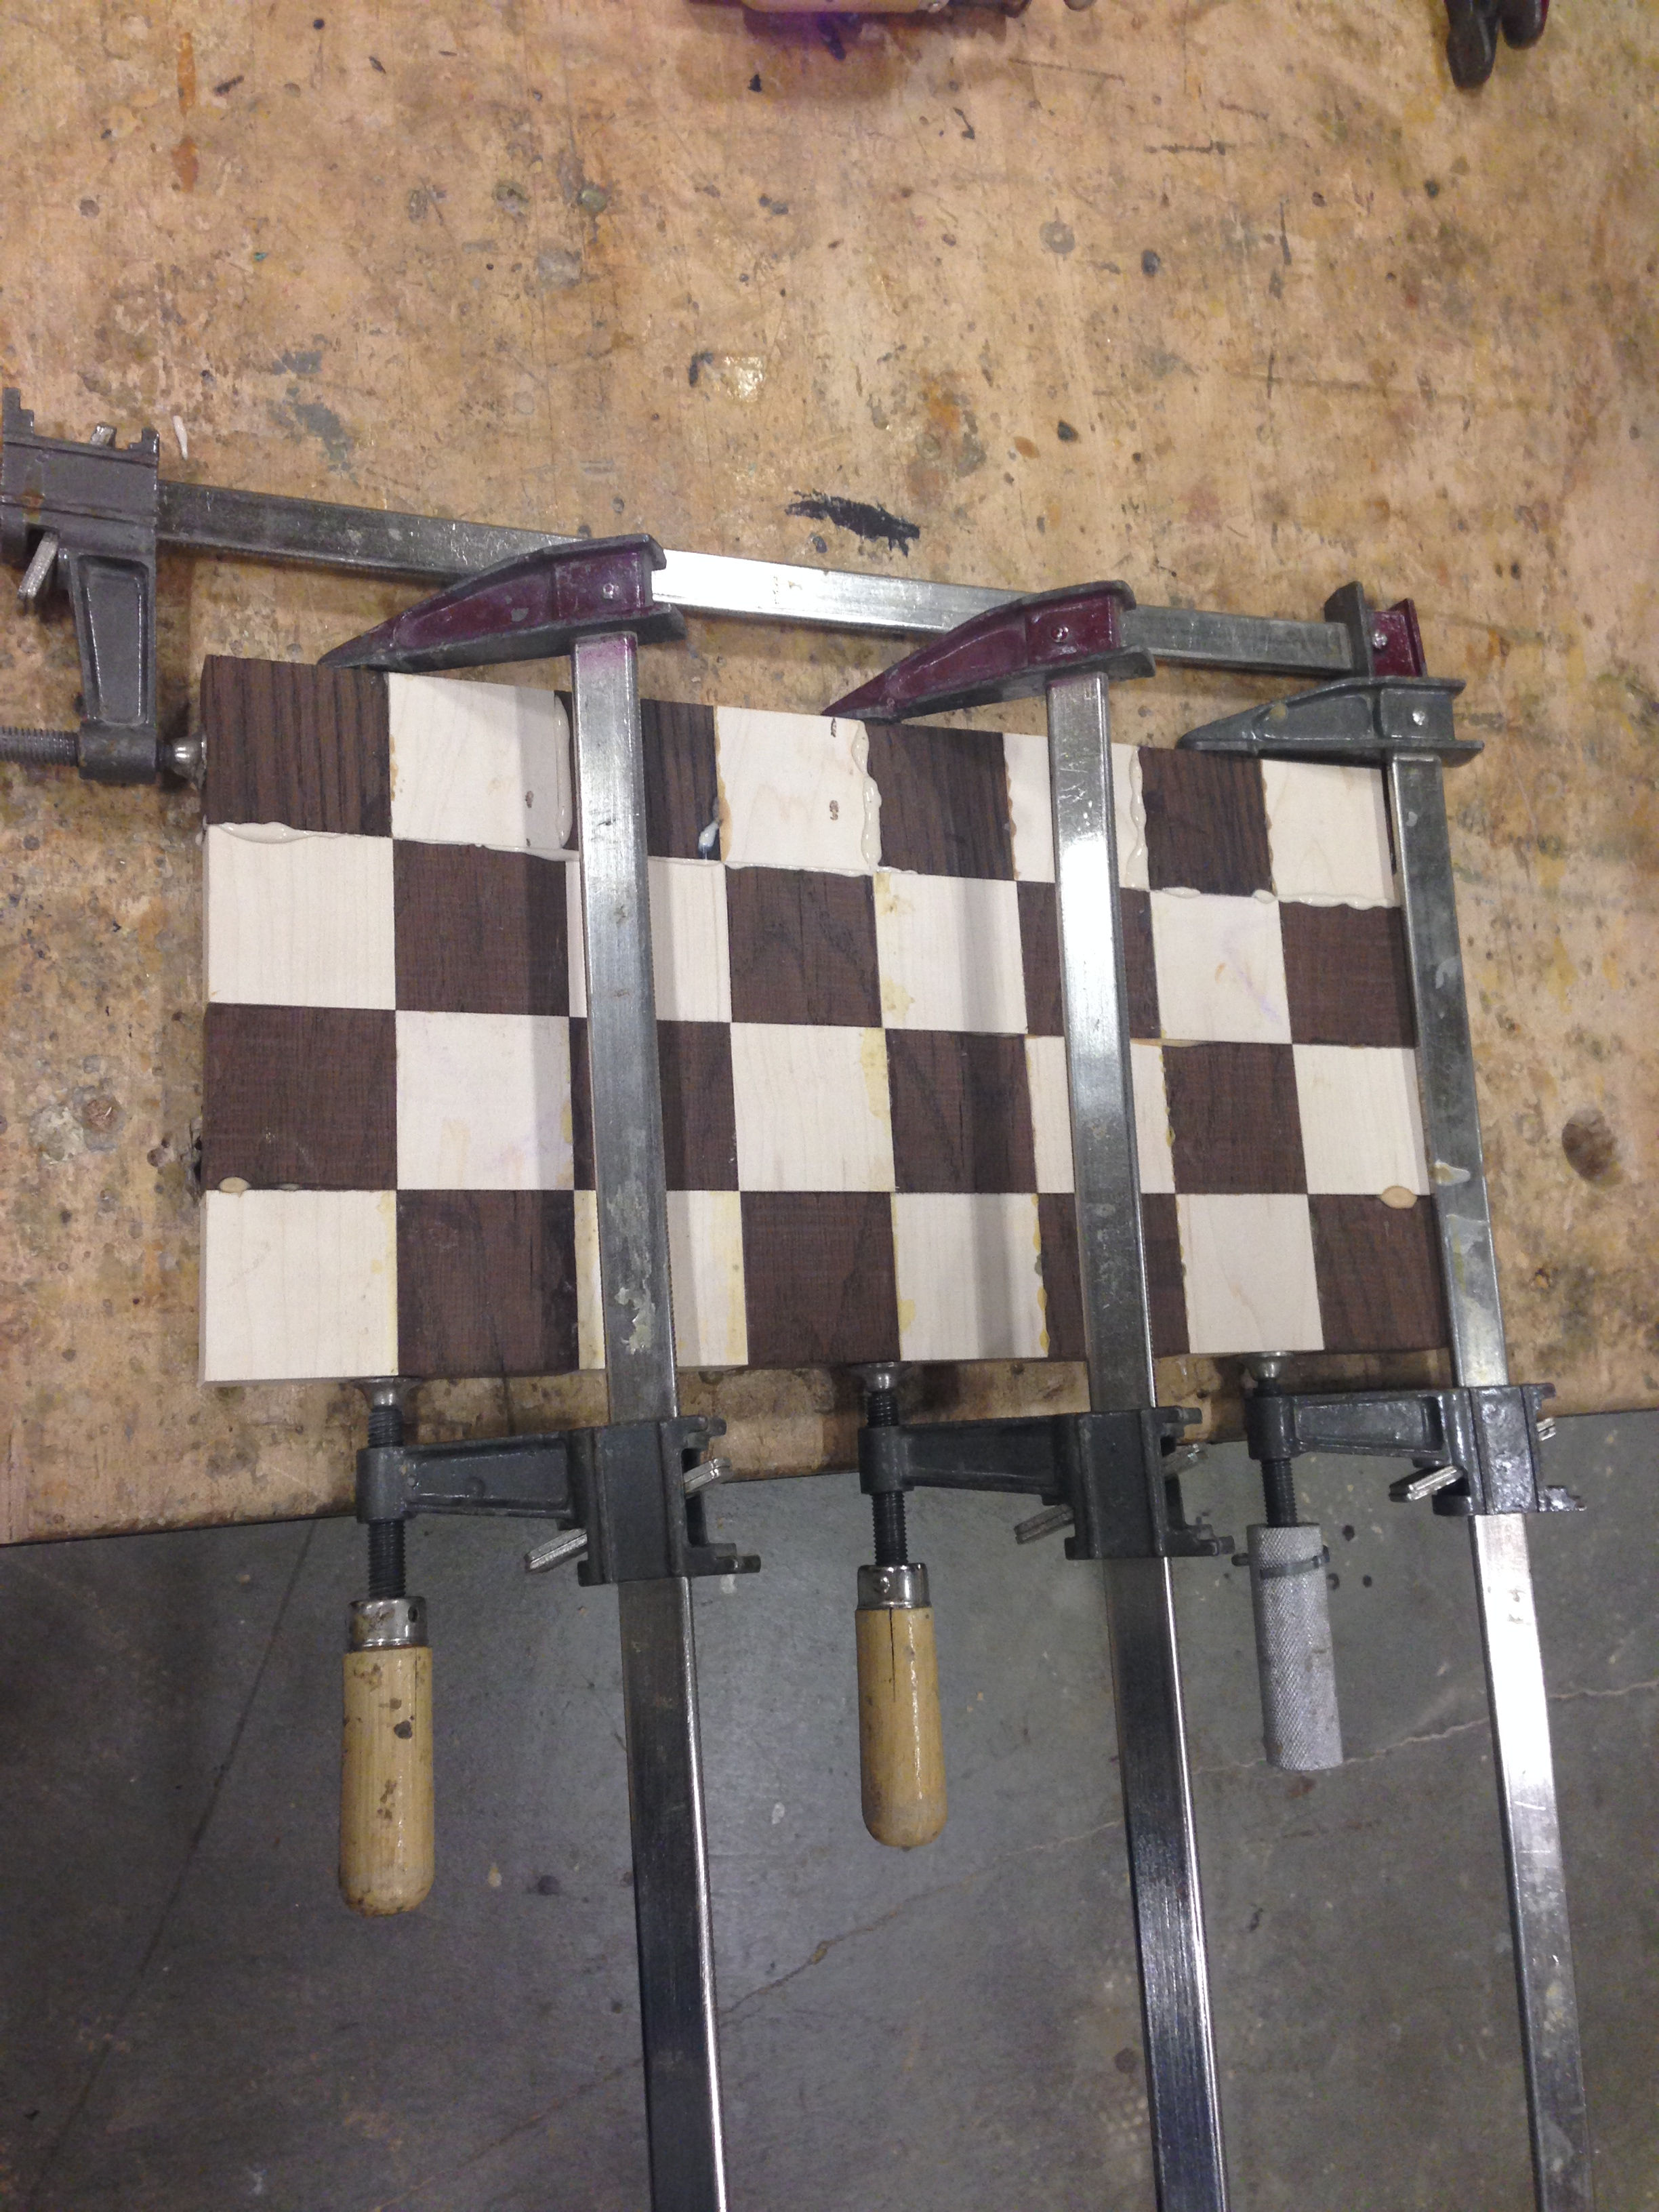
This is where the magic happens... once you cut each strip perpendicular using a sled and a stop block, you can rotate every other strip so the pattern switches, creating a checkered pattern.
Once this happens, again create pairs and start gluing them together. If all goes well and your math as well as cuts are accurate, you will have a square chessboard comprised of square squares.
"Think of each cut like you would approach hitting a golf ball. Calm down, think about the right tool you need use to accomplish the desired outcome, and execute ~ Bob"
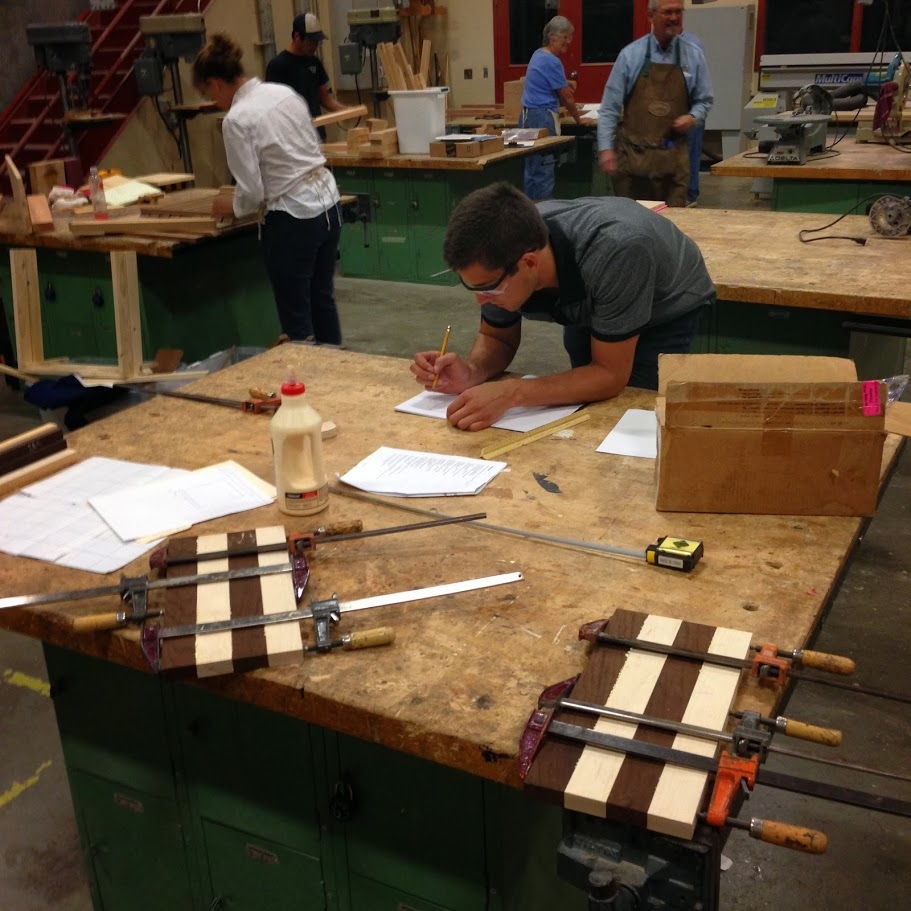
Lots of gluing and waiting!
The clock starts ticking as soon as you spread the glue!
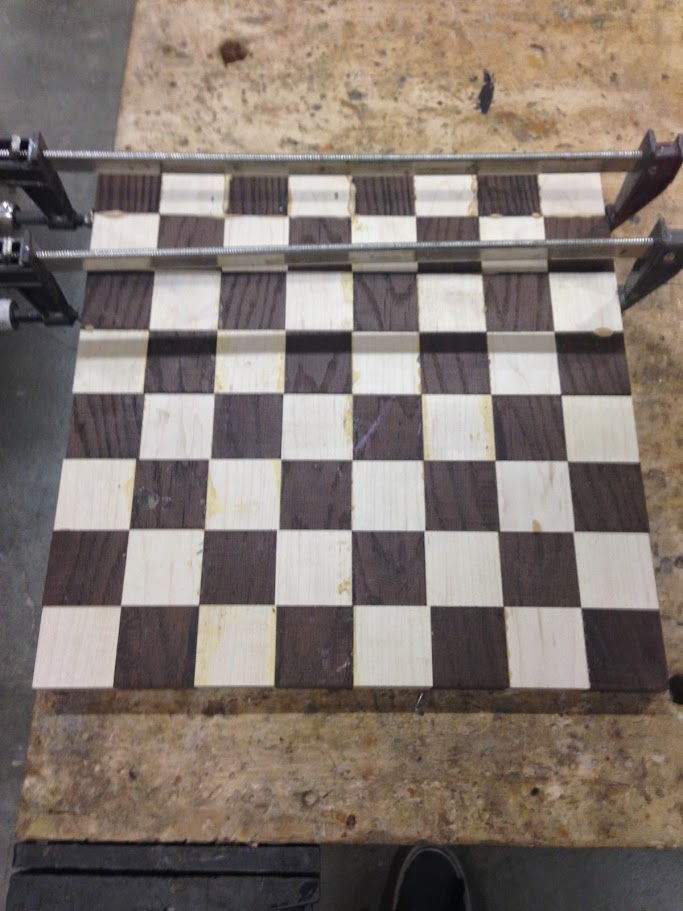
I had to recreate one more row because I made a newbie mistake of not leaving enough room for kerf -- the amount of wood lost during the cut.
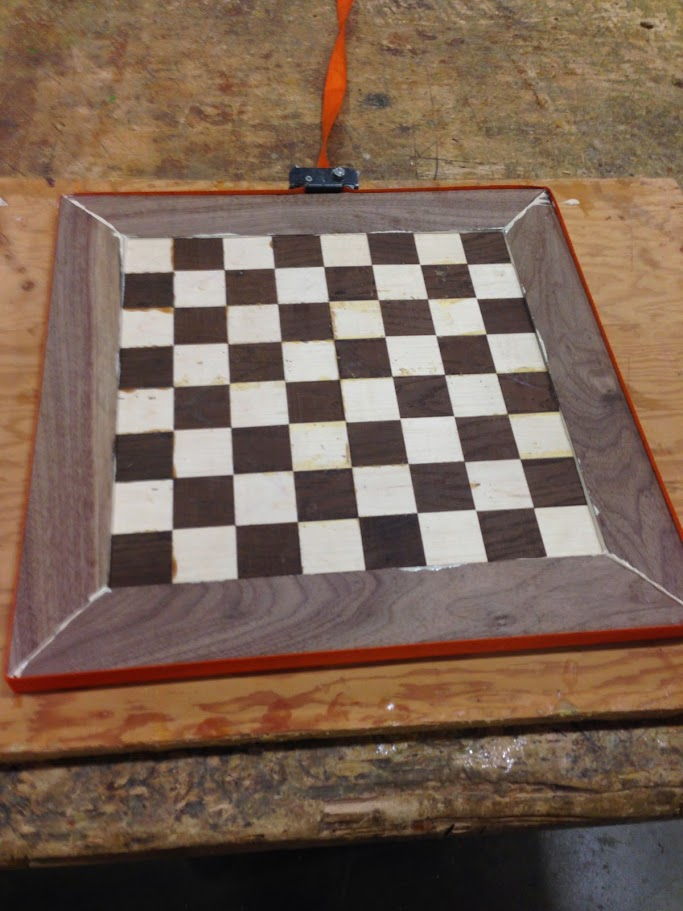
I used a band clamp to glue up the mitered frame around the chess board.
The project is finally starting to take shape

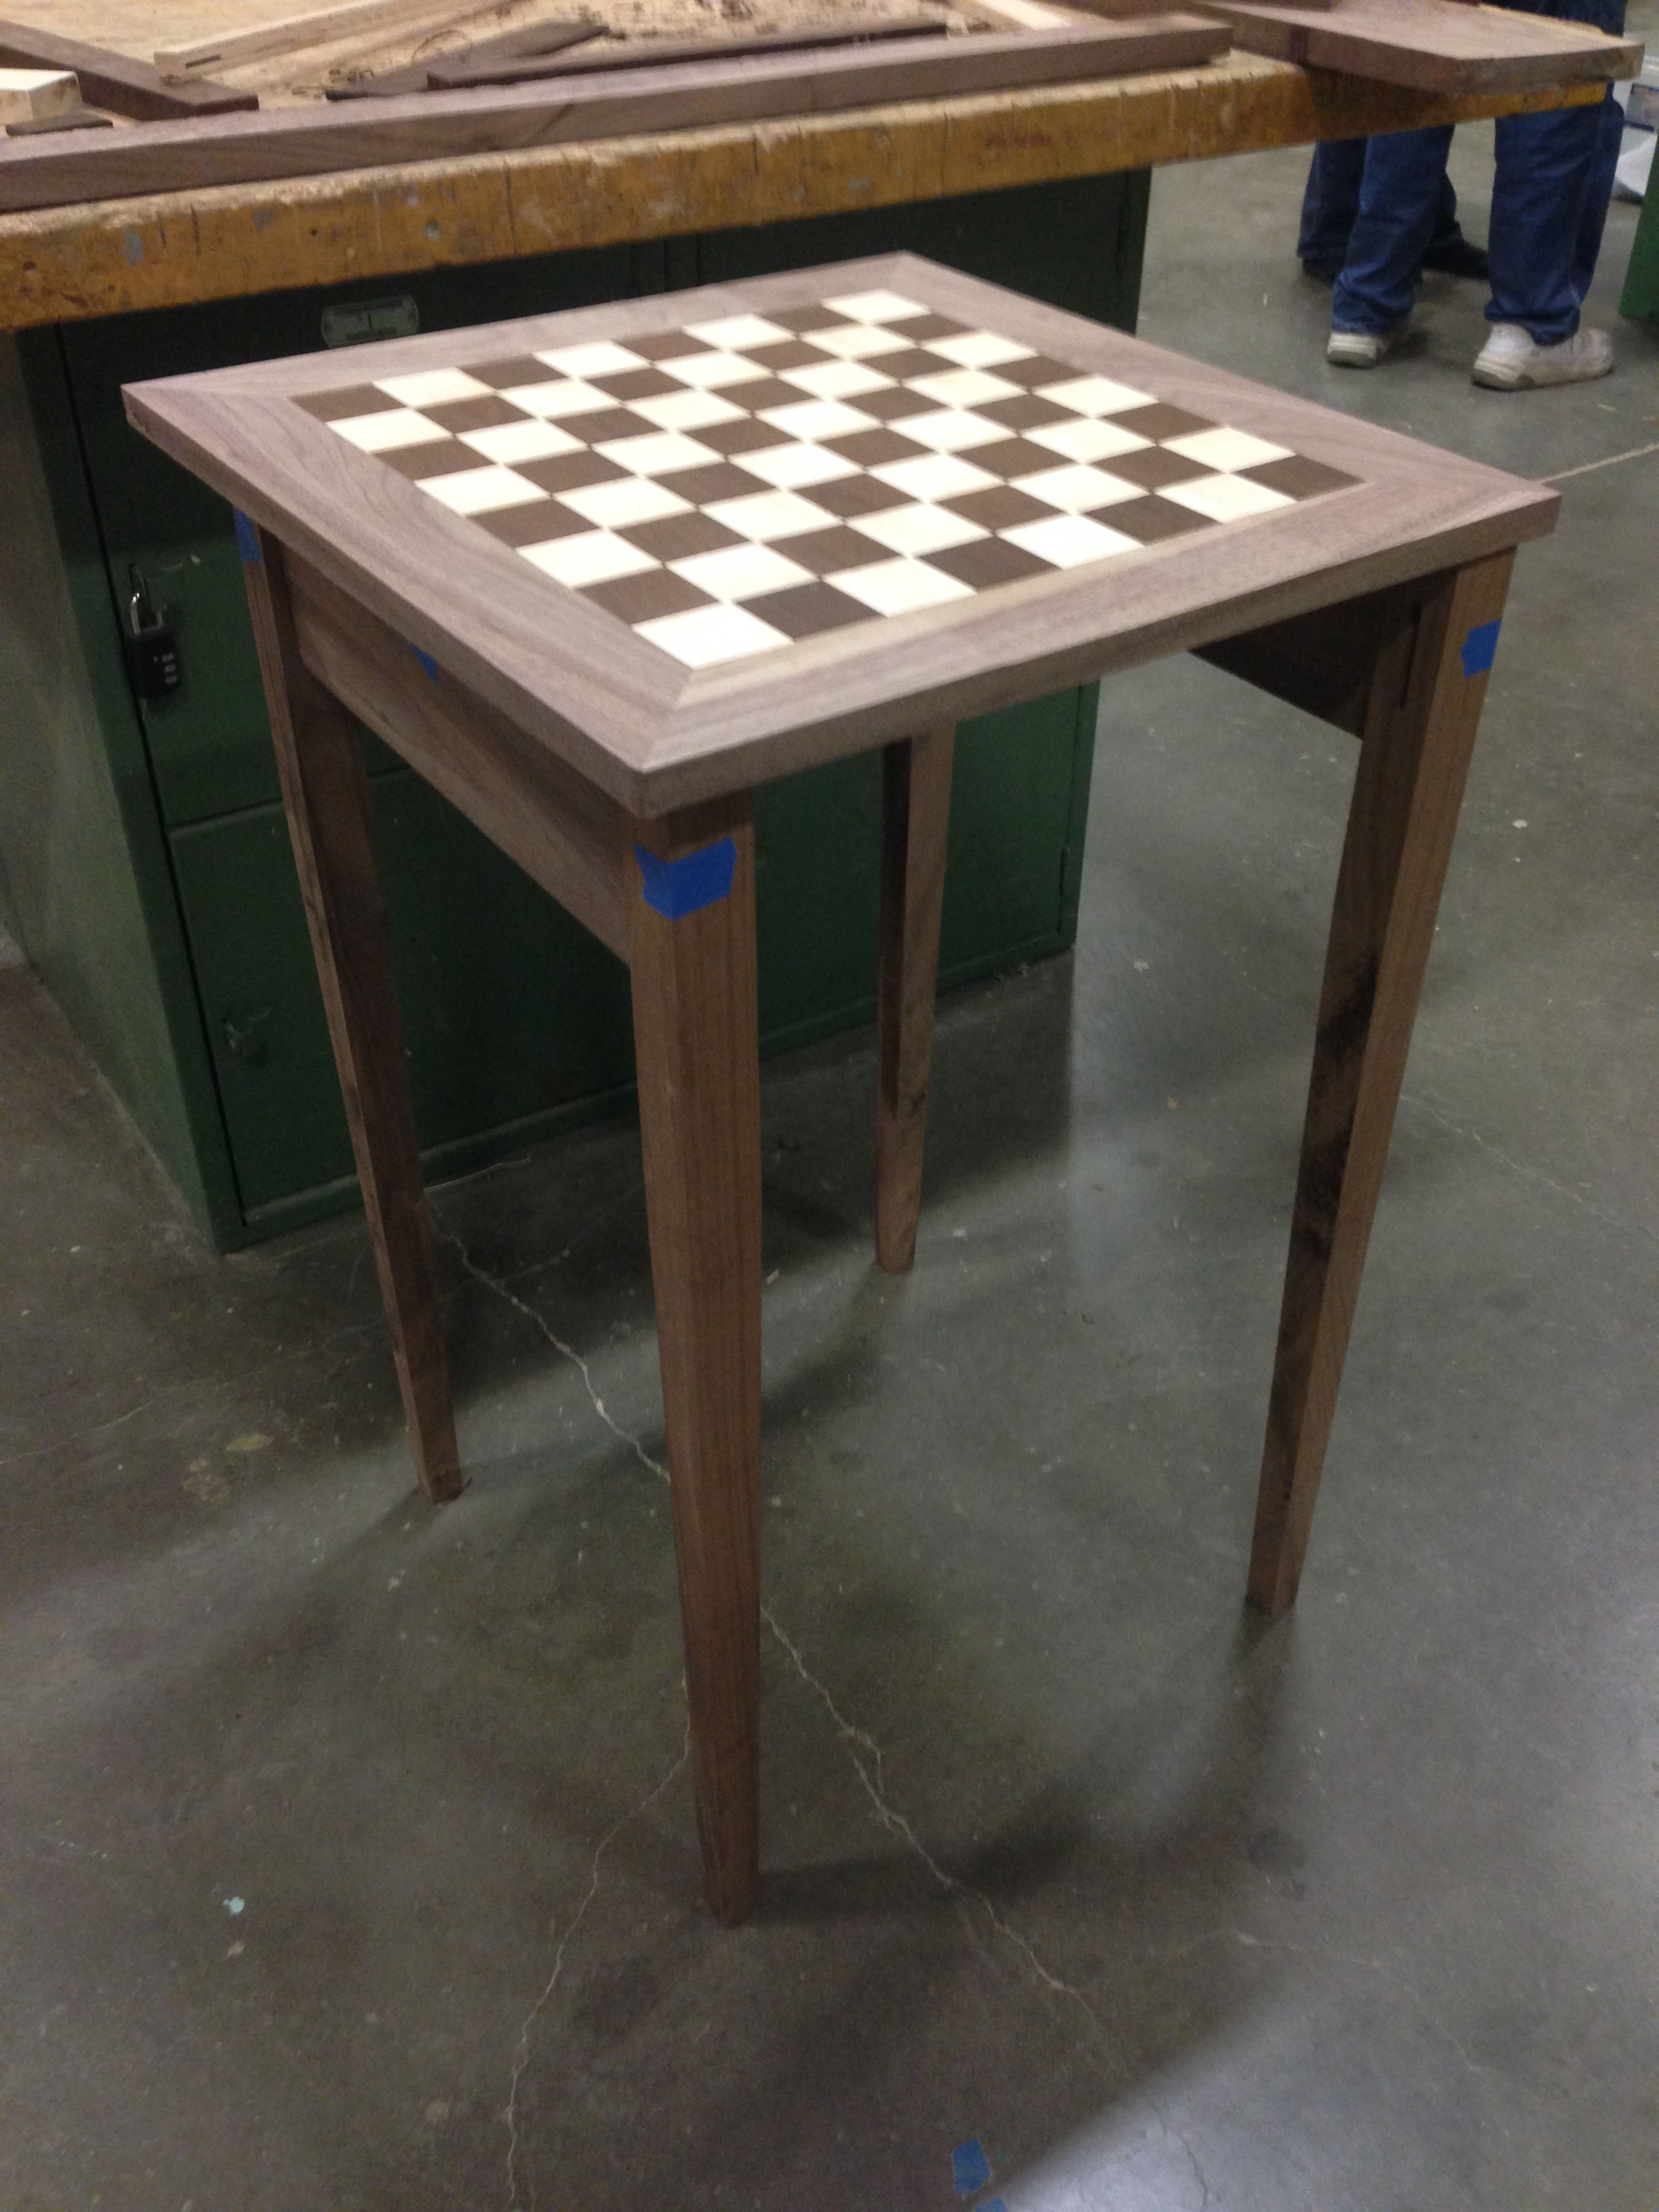
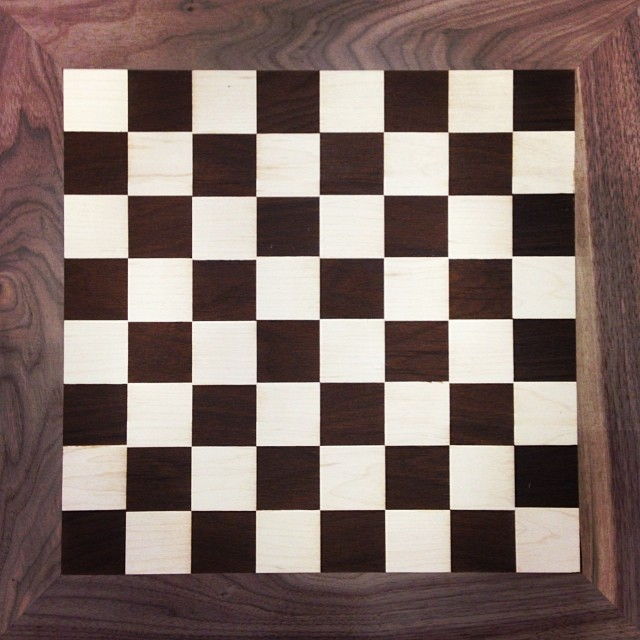
Top down view, applied with a few coasts of GENERAL FINISHES Arm-R-Seal and the Lo-Fi Instagram filter.
Finished!
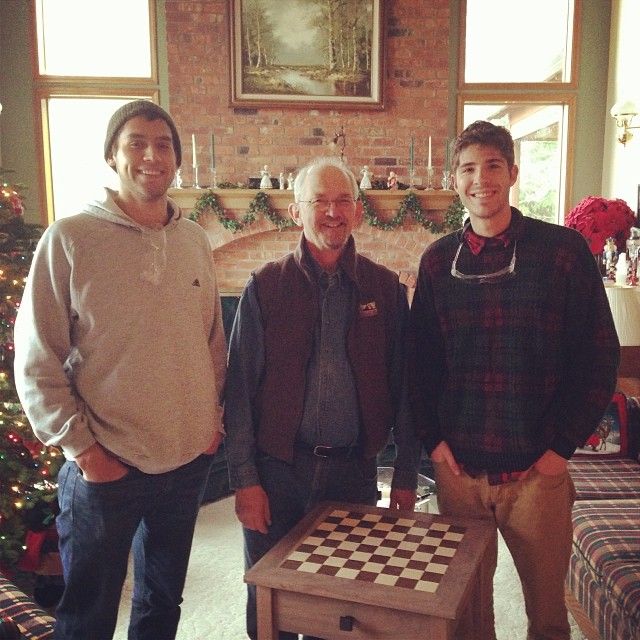
Rob and Bob were a huge help!