Digital Picture Frame
September 5, 2020This project is 14 years in the making. In 2006, I partially disassembled an old Windows XP laptop (that my Dad had retired when he upgraded) by rotating the display and folding it back over on top of the keyboard. The entire package was put into a shadow box.
Now, I've revived the project after all these years by taking a old laptop display, added a display driver board, a chromecast, and neatly packaged it into the shadow box picture frame I bought in 2006.
Previously
On the software side of things, I had Windows automatically download photos from flickr based on photos I uploaded and certain 'tags' that I follow. This was the Web 2.0 era, so I'm not sure they had #hashtags yet. The computer would set these pictures as the background and rotate through them every minute.
Also, I had desktop widgets that would show the weather and system resources.
There was another app which scheduled when the computer would turn on and turn off, so the light wouldn't light up the room at night.
Everything worked! But....
- One of the reasons my Dad retired the laptop is the bottom inch of display would sometimes turn a solid color until you tapped the screen or adjusted it. Basically, it was already broken, which is why I got the go-ahead to tear it apart.
- The laptop would run HOT and there was no airflow inside the shadow box picture frame. It didn't help that I used Styrofoam to hold everything in place, further insulating the heat. Every now and then, the system would shut down automatically due to the heat.
- The whole package was heavy. One time, the nail ripped out of the drywall and fell about 6 feet to the ground. It still worked but not a great situation 😅
- The laptop didn't have built-in wifi, so I had to use the matching dock to plug in the PCIMCA wifi card for internet access. I think it was 802.11__b__ wifi, which is kinda slow by today's standards, but was enough to get online back then.
Now
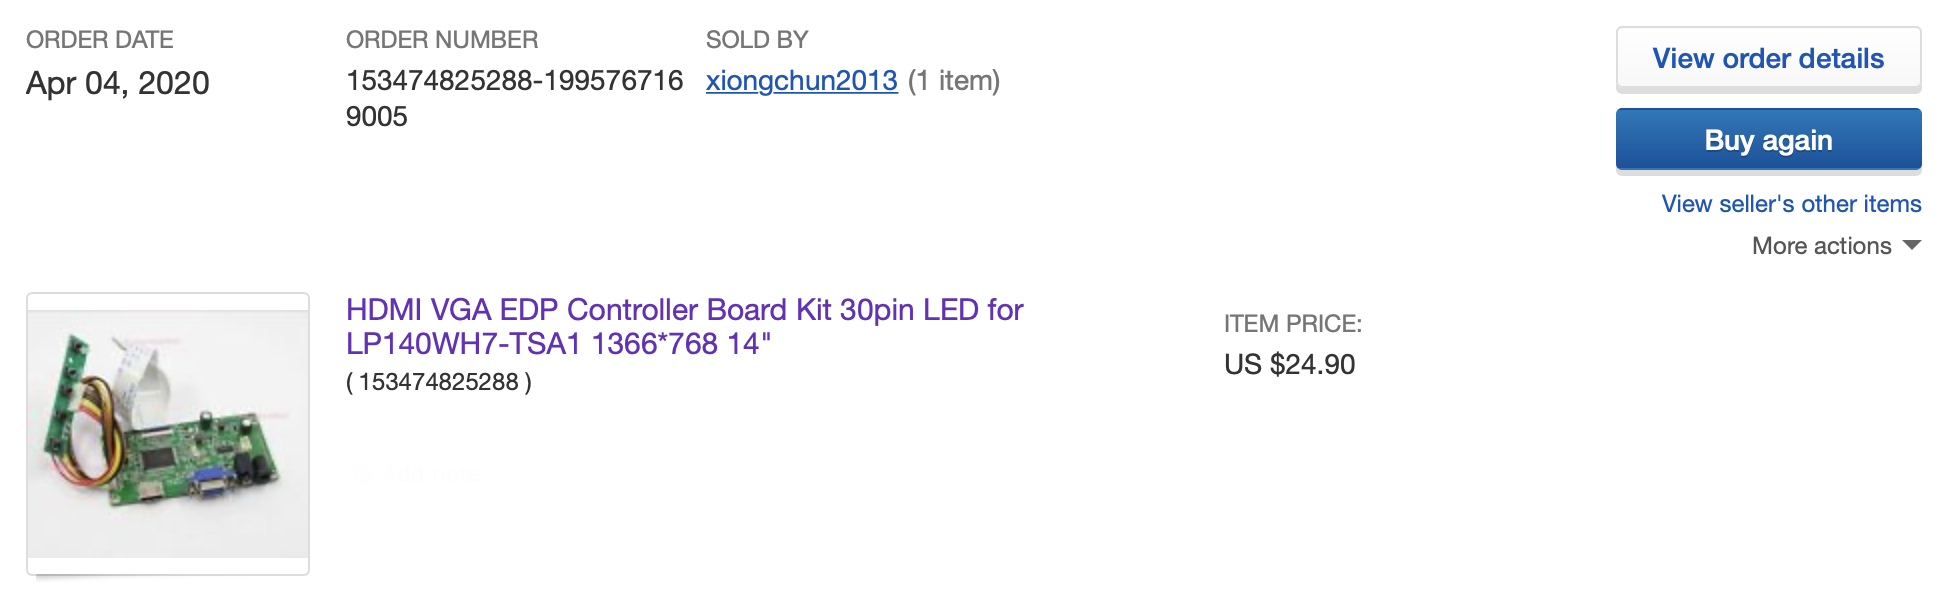
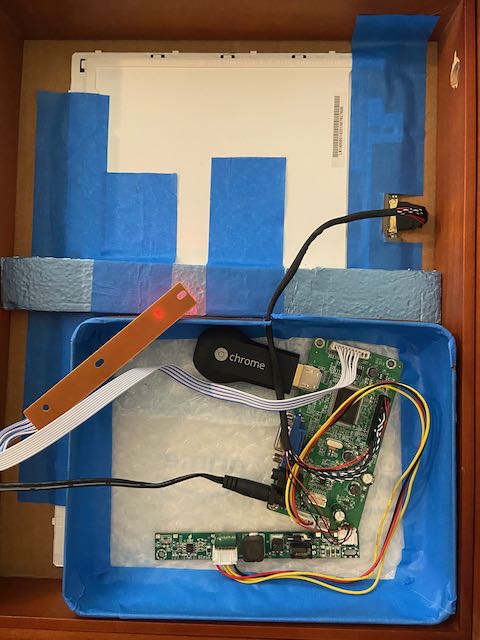
I had another old laptop that my sister had given to me after she upgraded to another laptop. I bought a display driver board on eBay and plugged in my first-generation Chromecast. Voilà - instant picture frame!
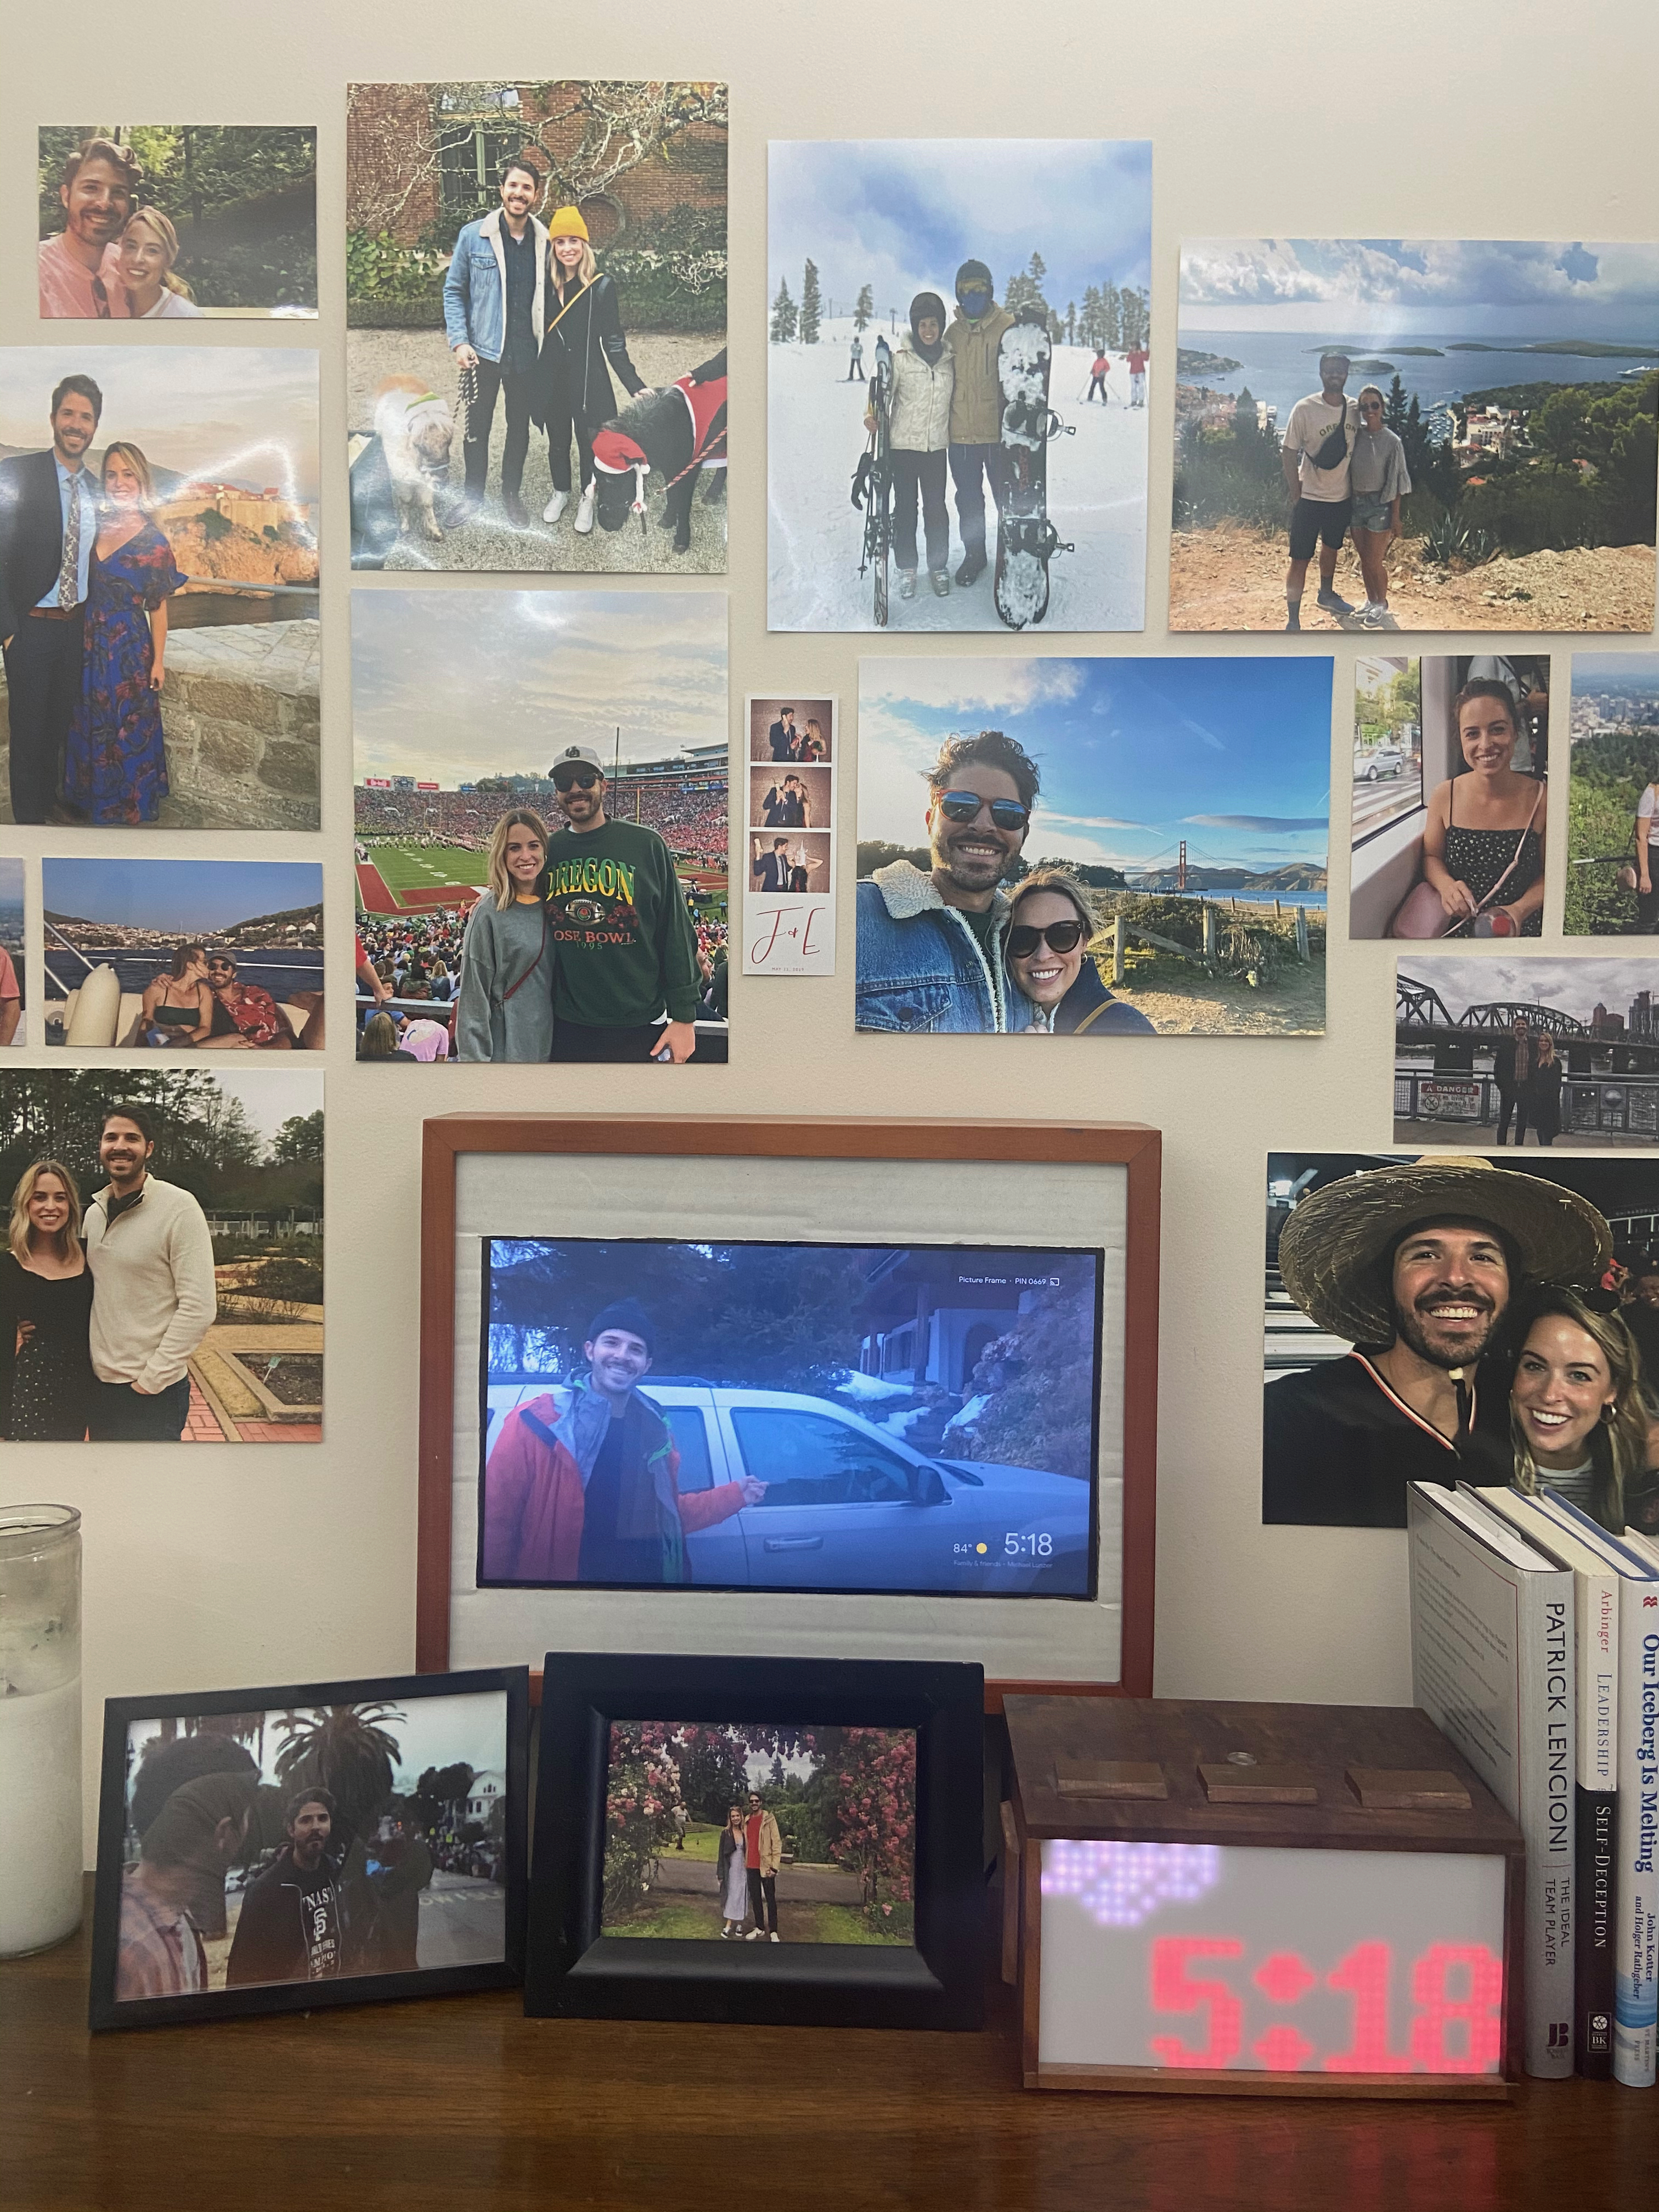
Chromecasts have a cool feature that will pull pictures from a specific Google Photos album (along with the time and weather) when nothing is being casted to it.
Pro Tip: Search on eBay for "display driver board" and try and find a board that meets your criteria. I needed an HDMI Port and wanted to buy a power supply bundled with it. Some display driver boards have an IR remote to change the input. Lastly, you need to message the seller before you click "Buy It Now" and tell them the model number of your laptop display. This is because they have to flash the boards with a specific firmware which depends on the make/model of your LCD display.
Build Process:
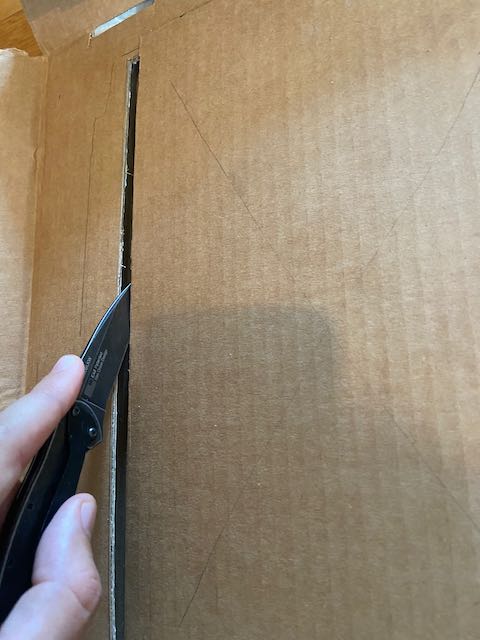
Cut the Cardboard
Measure (Best Effort)
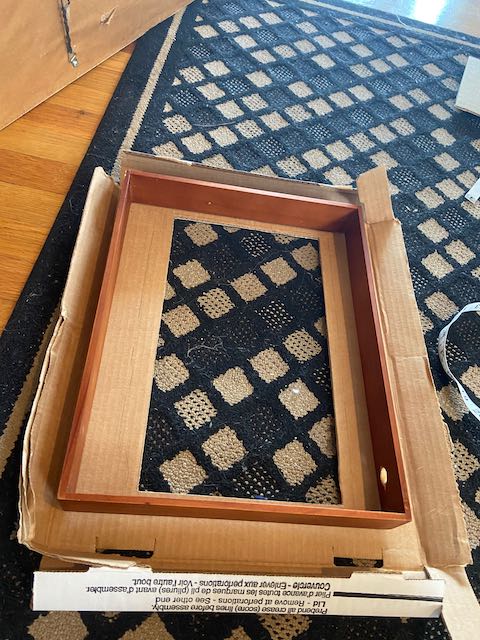
Center the Display
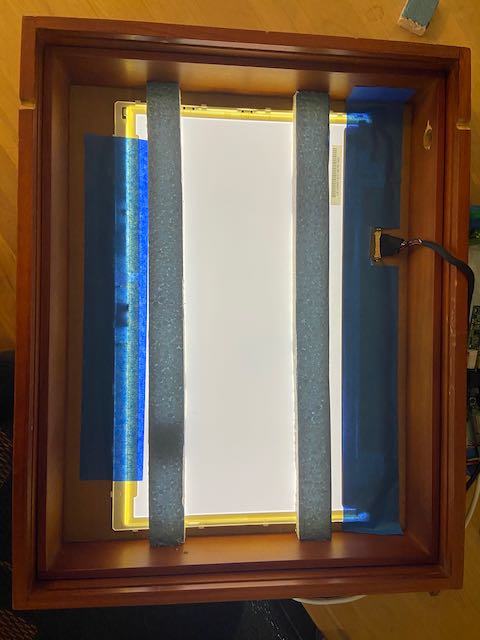
Fit All the Components
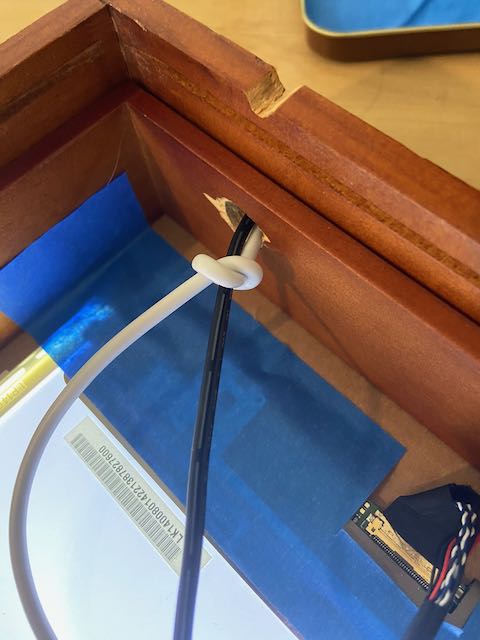
Tie a Knot to Prevent the Cable From Pulling the Chromecast Around in the Shadowbox
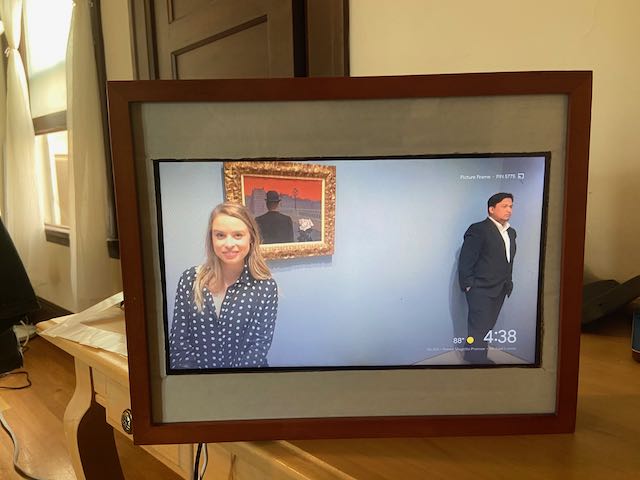
Voilà!
Project Costs
| Item | Cost |
|---|---|
| Shadow Box Picture Frame (in 2006 dollars) | $25 |
| Old Laptop Display | Free |
| Display Driver Board | $25 |
Lessons Learned
There's no such thing as a free lunch: If I could do the project over again, I would've picked a different display. The one I used is a narrower image - if I had to guess, I think it's a 16:9 display.
Also, it has poor viewing angles and inaccurate color. If I had to guess, it looks like a TN panel. The laptop was already not working by the time I got ahold of it and the system couldn't POST. If you get a chance before you disassemble the display, try and see what the display looks like. I think a 4:3 display would have less margin on the top/bottom of the frame.
Finished Product