ESPHome Stepper Motor Heater Controller
February 7, 2021One of the challenges of building a smart home when you don't own a home is creating projects that work with the existing features of the home so it'll be easier when you eventually move out.
This is another project that I had dreamed up around 2013 from my first apartment. I had written a python script to control this stepper motor connected to a Raspberry Pi. Additionally, I learned how to use AutoDesk Fusion 360 and created a 3D model to hold the livestrong rubber band. I had printed at a hackerspace for about $20, which seemed a bit much for what it is, but that was in the "early" and exciting days of 3D printing lol.
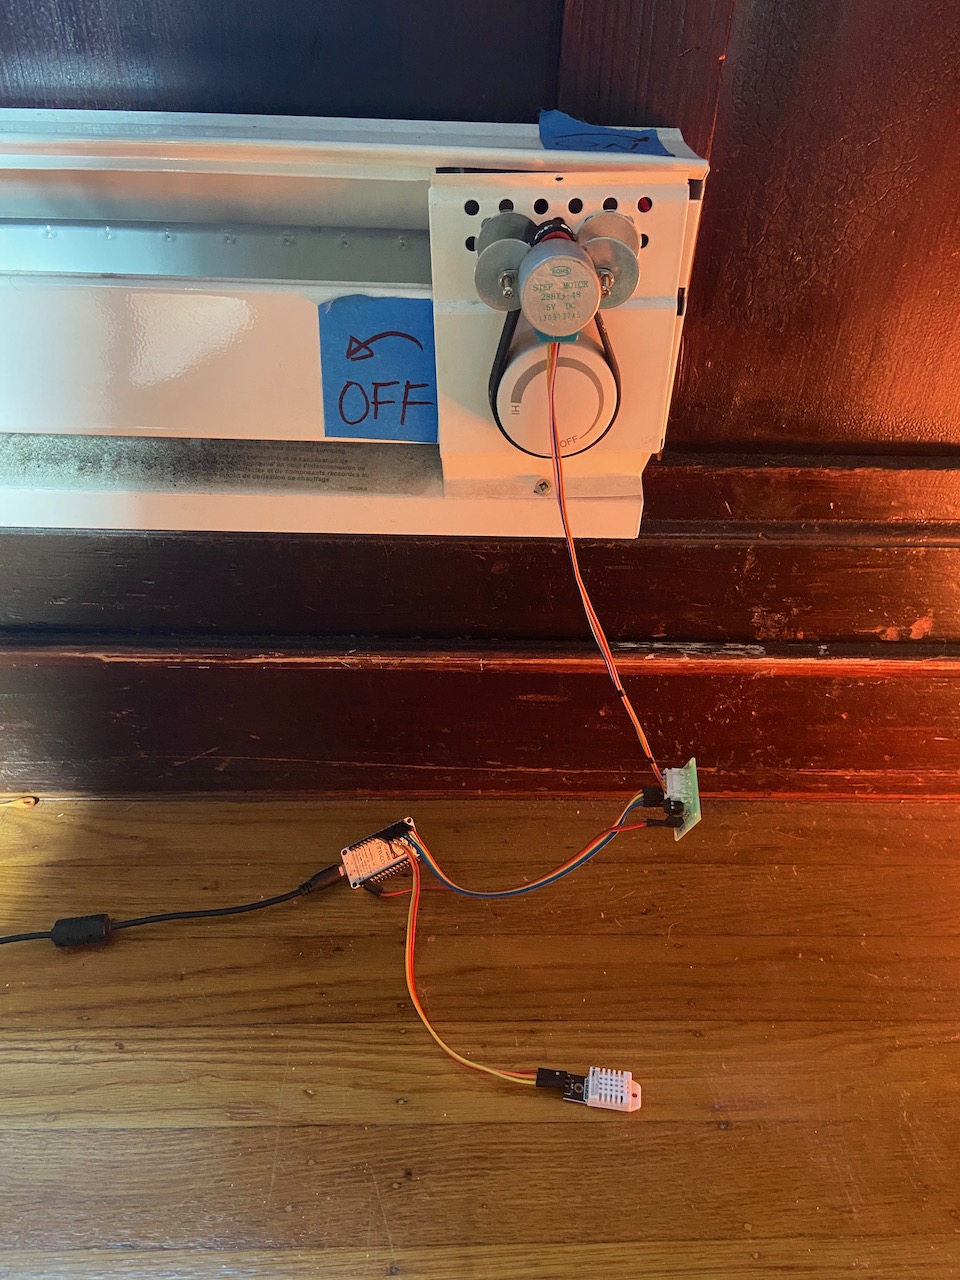
I've since moved a few times and enhanced the setup. I've taken the stepper motor and connected it to an ESP8266 and used Home-Assistant to automate a baseboard heater.
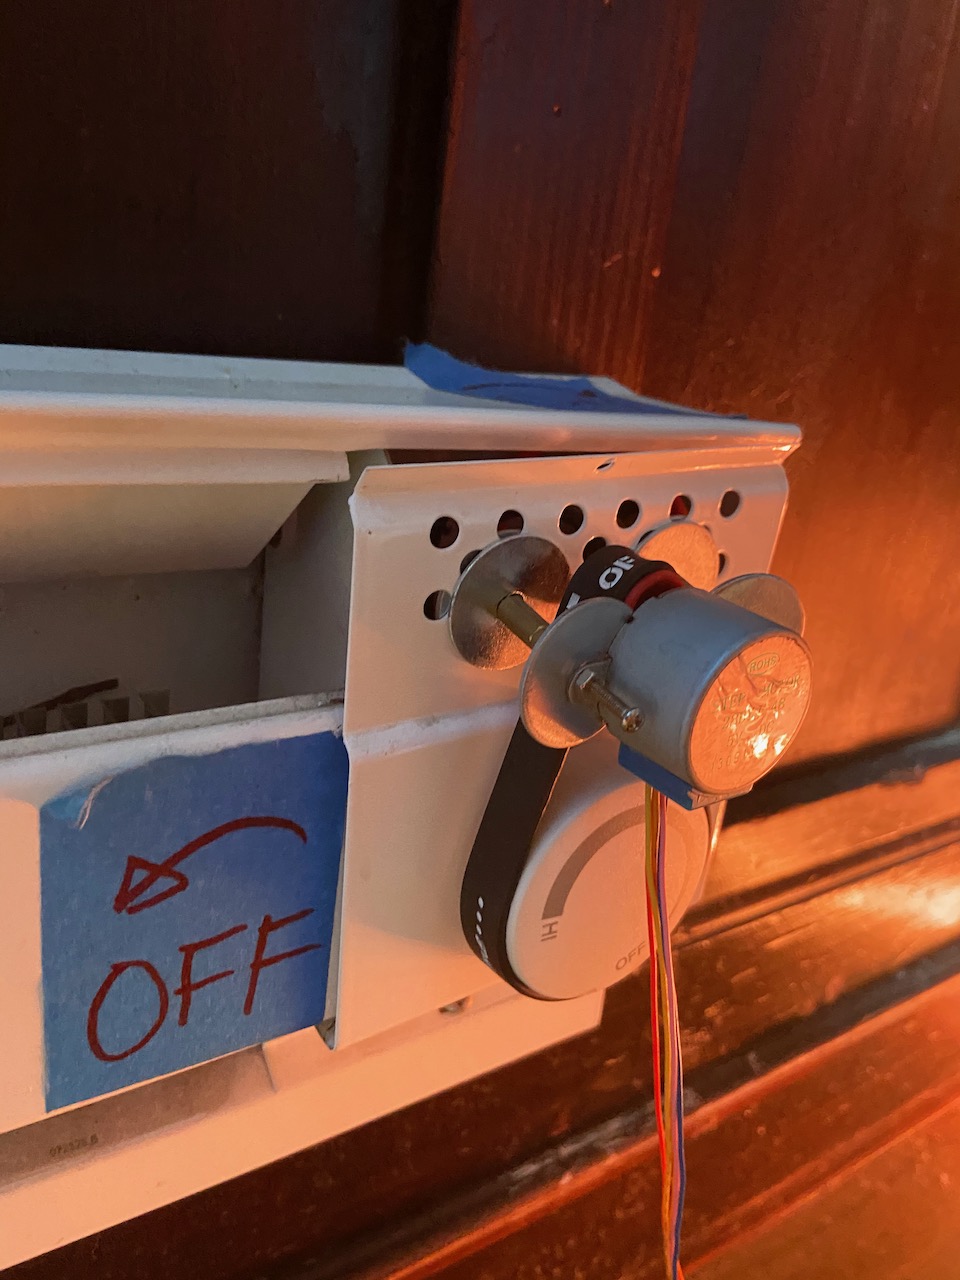
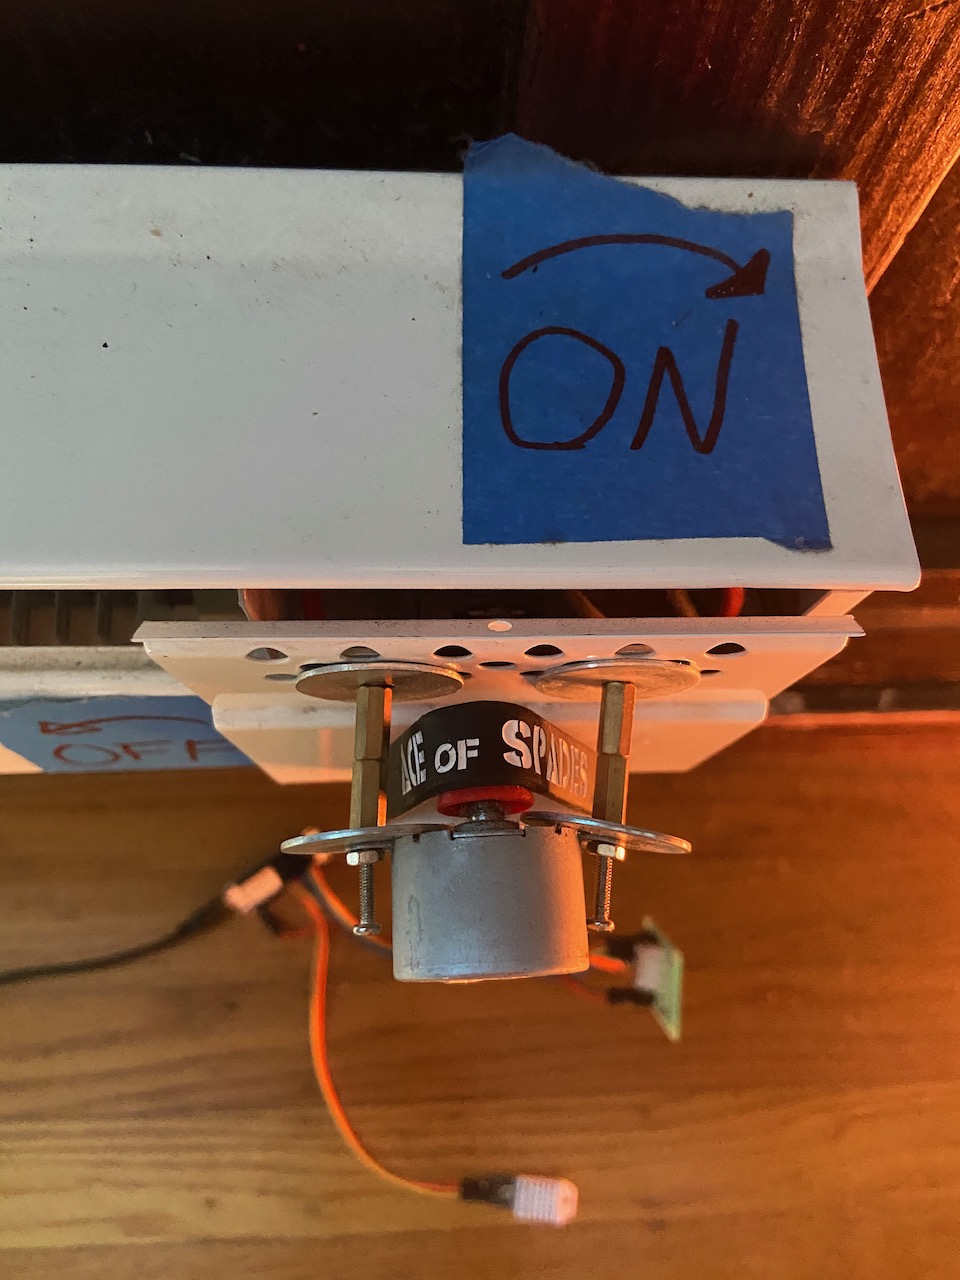
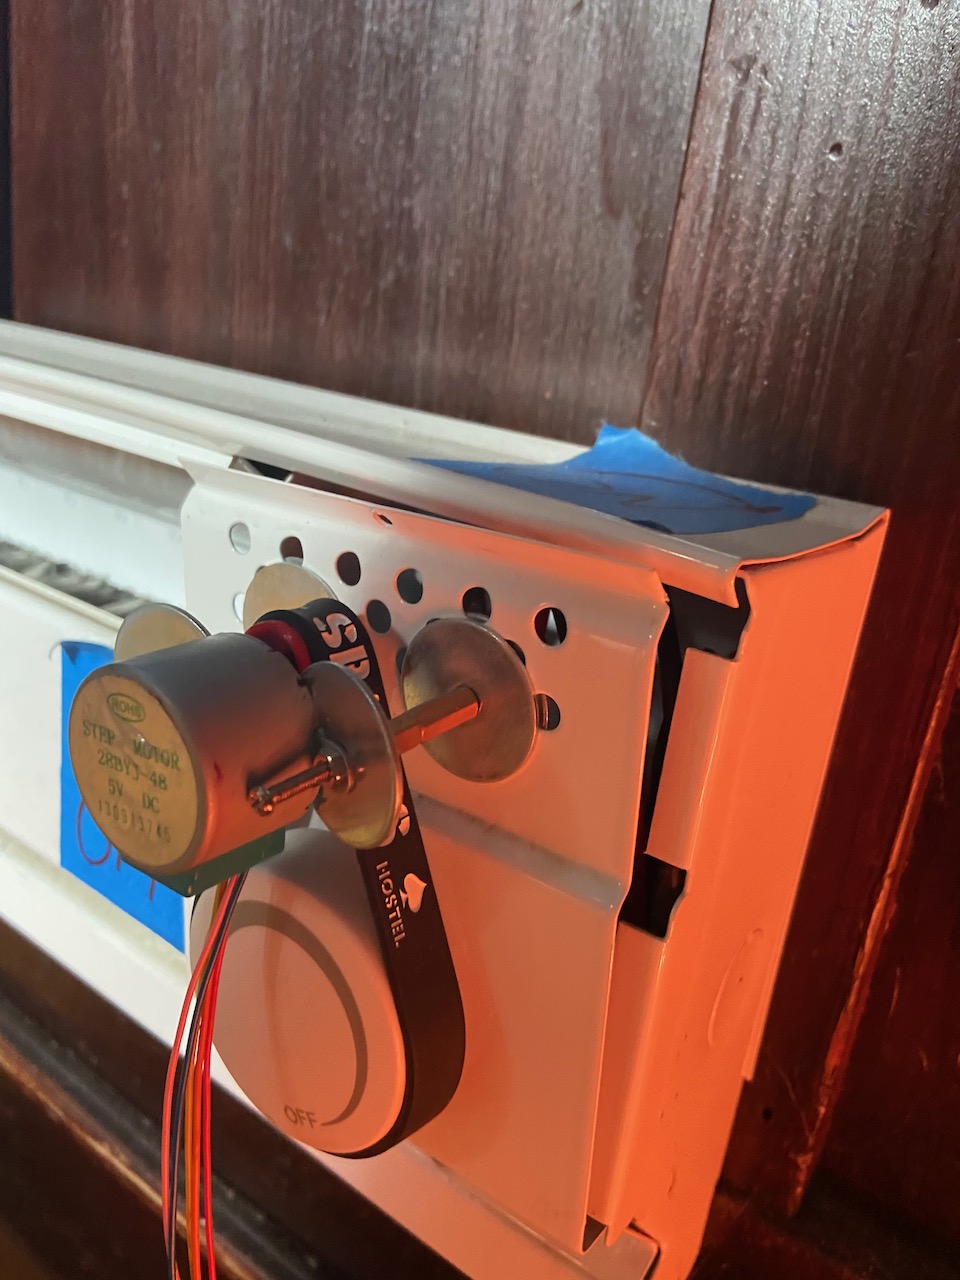
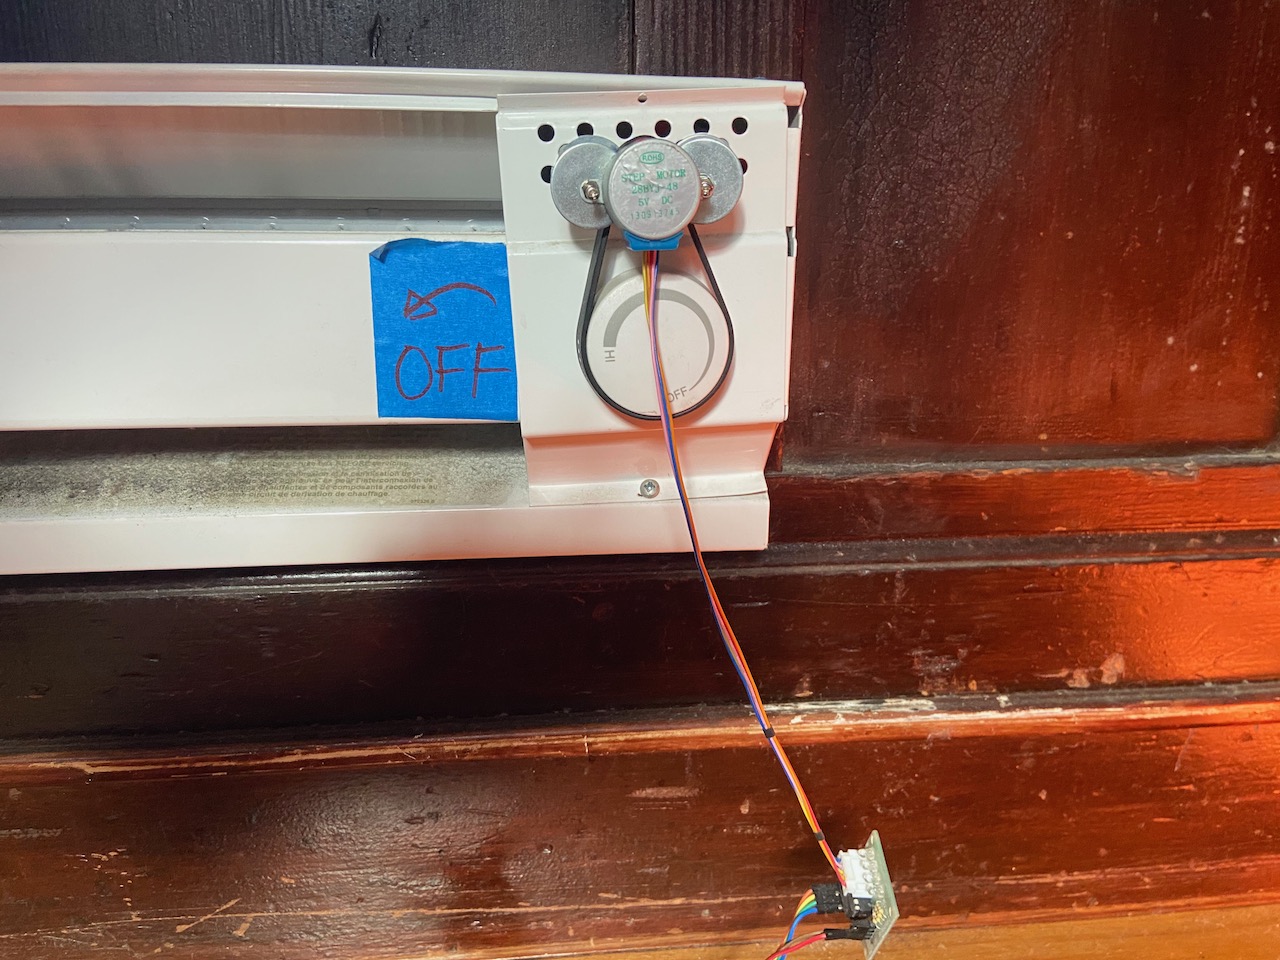
I've used some screws (that are easily removable) to mount the stepper motor to the baseboard. I used a "livestrong" rubber band bracelet as a belt to control the heater knob by tension and friction.
The code within ESPHome is pretty straightforward. It uses the stepper motor and the temperature sensor to make a "bang-bang climate controller". If you're wondering where the name "Bang-Bang" controller came from, check wikipedia. Basically, it switches between two states (on/off or up/down) to keep something between a desired state.
In this example, you set the desired temperature and the stepper motor will turn the heater on or off to maintain the heat at that desired temperature.
Here are a couple pictures of what it looks like:

ESPHome Code:
esphome:
  name: heater
  platform: ESP8266
  board: nodemcuv2

wifi:
  ssid: 'Network_SSID'
  password: 'Network_PW'

# Enable logging
logger:

ota:

api:
  services:
    - service: control_stepper
      variables:
        target: int
      then:
        - stepper.set_target:
            id: my_stepper
            target: !lambda 'return target;'

stepper:
  - platform: uln2003
    id: my_stepper
    pin_a: D1
    pin_b: D2
    pin_c: D3
    pin_d: D4
    max_speed: 150 steps/s
    step_mode: HALF_STEP #WAVE_DRIVE #

sensor:
  - platform: dht
    pin: D5
    temperature:
      name: "Heater Temperature"
      id: heater_temperature
    humidity:
      name: "Heater Humidity"
      id: heater_humidity
    model: AM2302

climate:
  - platform: bang_bang
    id: heater_climate
    name: climate
    sensor: heater_temperature
    default_target_temperature_low: 20 °C
    default_target_temperature_high: 22 °C

    heat_action:
      # - switch.turn_on: heater
      - stepper.set_target:
          id: my_stepper
          target: -5000
    cool_action:
      # - switch.turn_off: heater
      - stepper.set_target:
          id: my_stepper
          target: 5000
    idle_action:
      - stepper.set_target:
          id: my_stepper
          target: 2500
Home Assistant Configuation
# Home Assistant Configuration
input_number:
  stepper_control:
    name: Stepper Control
    initial: 0
    min: -3000
    max: 3000
    step: 1
    # mode: box
Home Assistant Automation
# Home Assistant Automation
automation:
  - alias: Write Stepper Value to ESP
    trigger:
      platform: state
      entity_id: input_number.stepper_control
    action:
      # Replace livingroom with the name you gave the ESP
      - service: esphome.heater_control_stepper
        data_template:
          target: '{{ trigger.to_state.state | int }}'
I've combined both sections of the Home Assistant side into a file called Heater.yaml that sits inside the Packages folder. Be sure to include packages: !include_dir_named packages underneath the homeassistant: section at the beginning of your YAML config.
I've moved again, and this setup is no longer in use because my new place has central heating. Let me know if you have a good use-case for this stepper motor!
