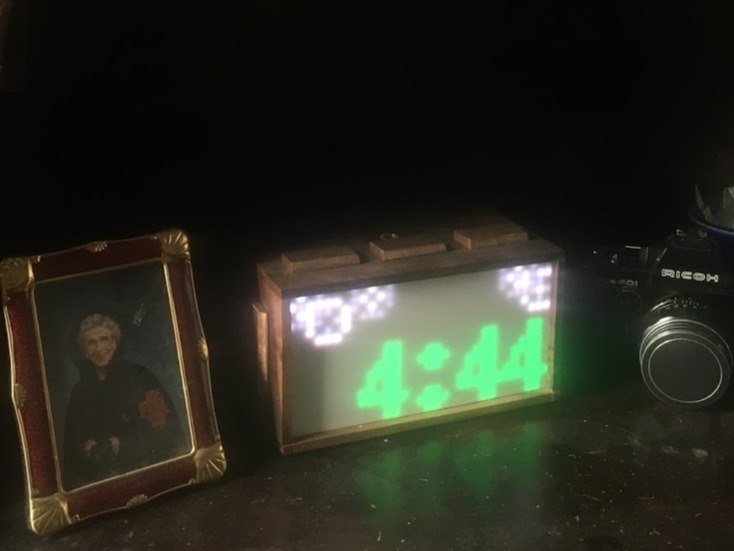
LunzPi Alarm Clock
June 4, 2017Finished Product First:
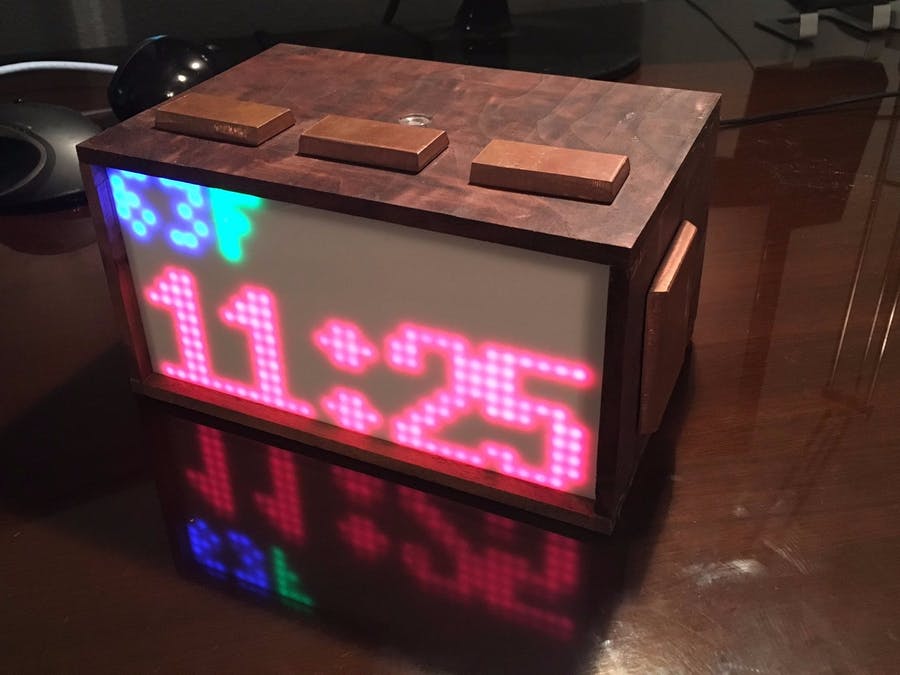
LunzPi Alarm Clock in Action
Here is a quick video of everything working before I built the case
LunzPi: Raspberry Pi Alarm Clock
Story:
Have you ever thought about something for TWO and a half years? I mean, there were some breaks in there. I had other things in life come up, career goals to focus on, and even moved states! But, from the first idea to the last bit of glue drying on this project... it's been on my mind. Some technological advances greatly helped me finish this project. It was really nice going from a Raspberry Pi B+ to the Pi 2 and enjoying the speed boost!
What started as a quick sketch to one of my coworkers became a two and a half year journey. I've learned a lot of new skills that I would not have pursued if it was not for this project like:
-
becoming a lot better at coding in python
-
problem solving
-
Creating CAD Designs
-
using a table saw and other woodworking tools for complex joinery
-
using a bench grinder
-
project management and prioritization
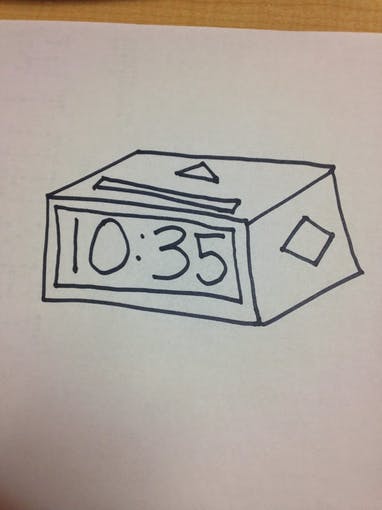
Objective: Create an alarm clock which gets me out of bed as pleasantly as possible. LunzPi
Requirements:
-
Wake up to a Spotify playlist
-
This way, I can edit the playlist on my phone or computer anywhere in the world -- not relying on FTPing local files and connections to the Pi
-
Set the alarm from a webpage
-
Screen is viewable from across the room
-
Ideally, I can use the bright LEDs as a sunrise alarm clock (gradually increasing brightness)
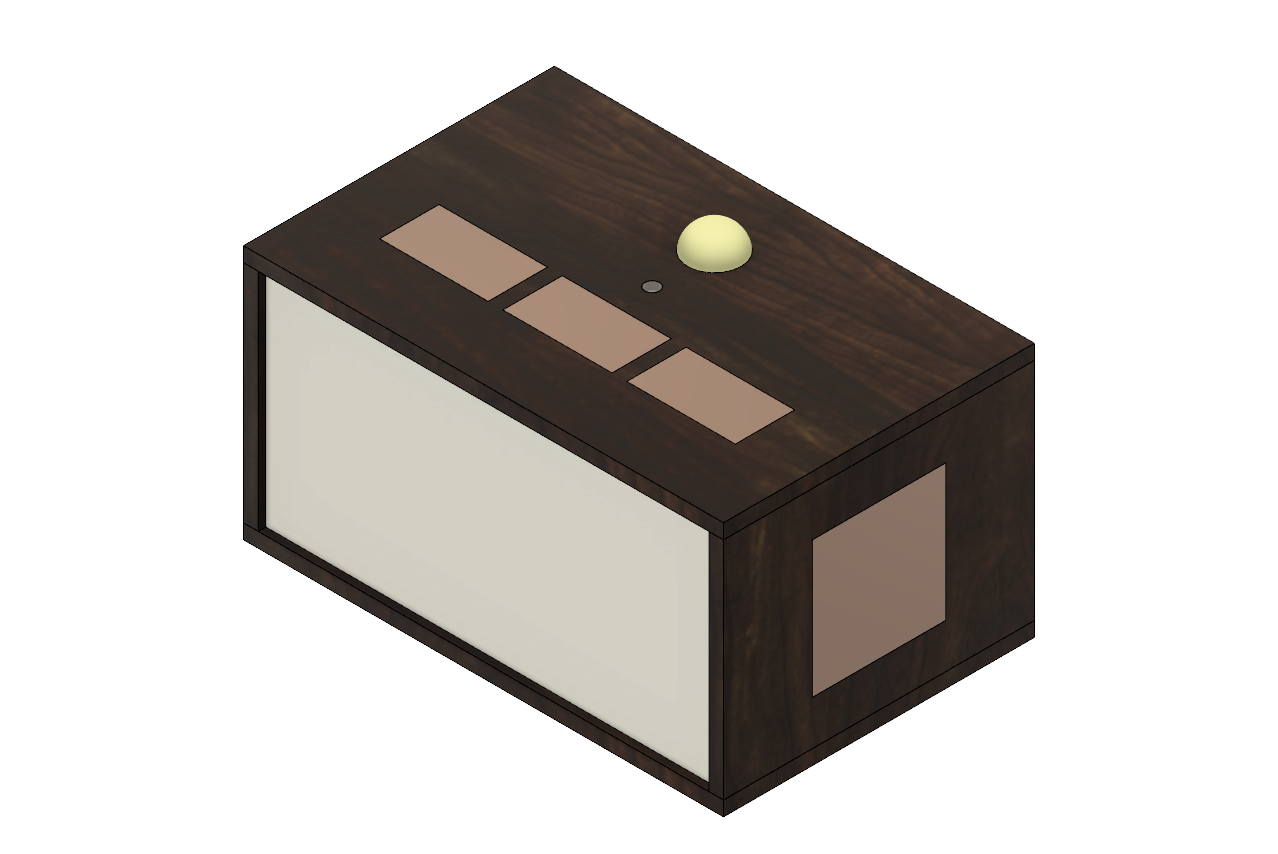
Enclosure 3D Model:
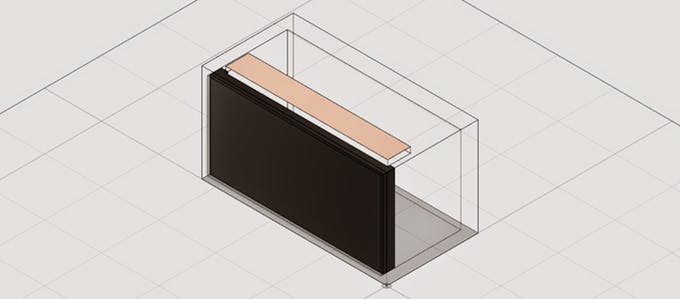
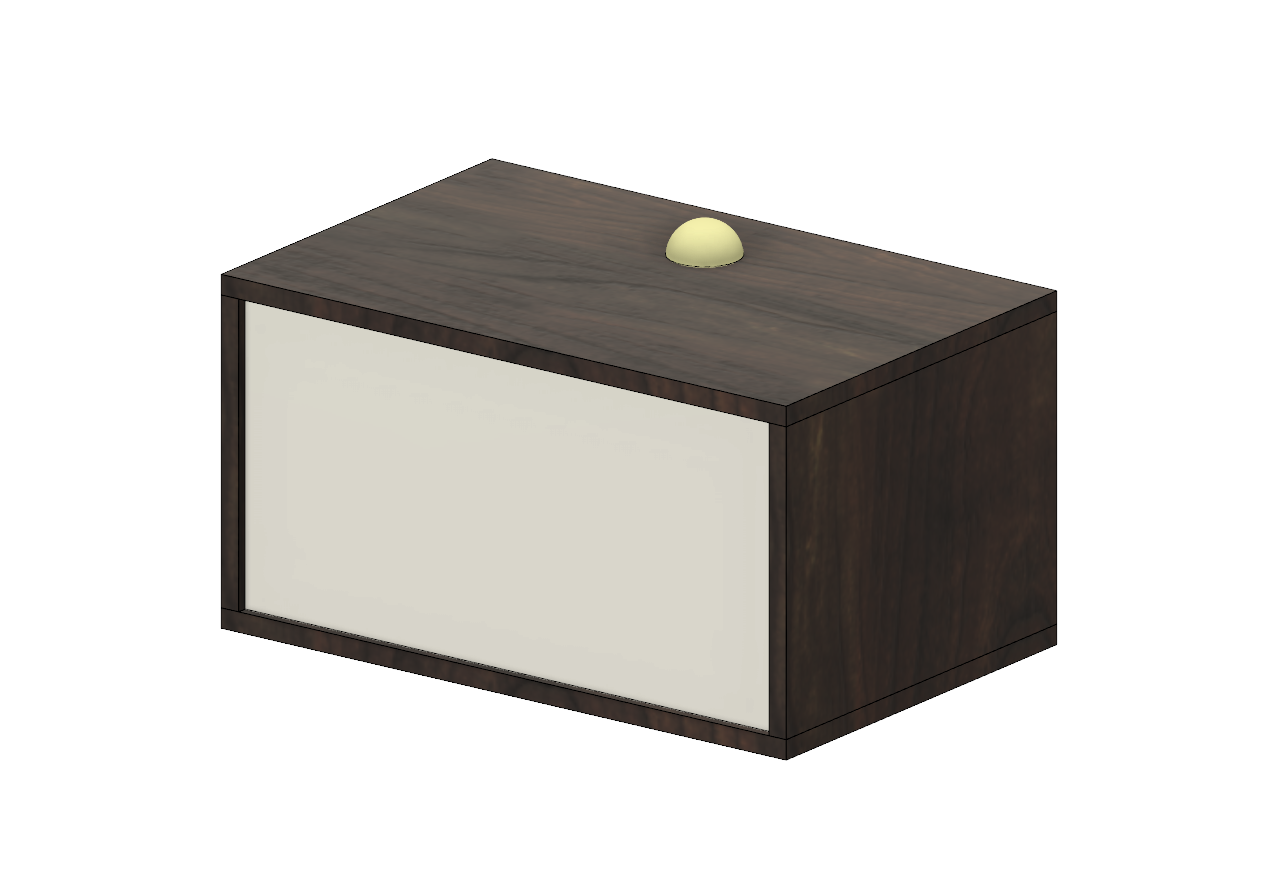
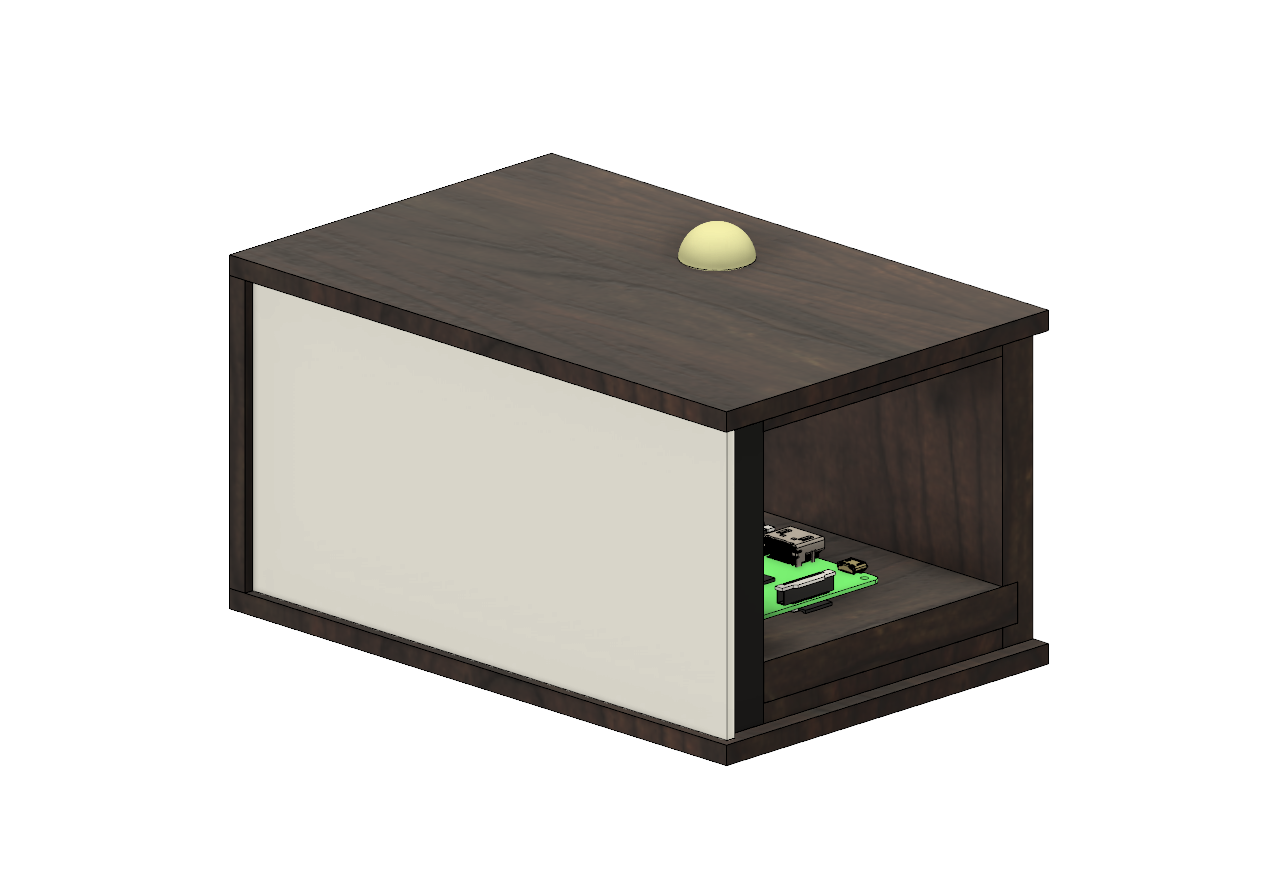
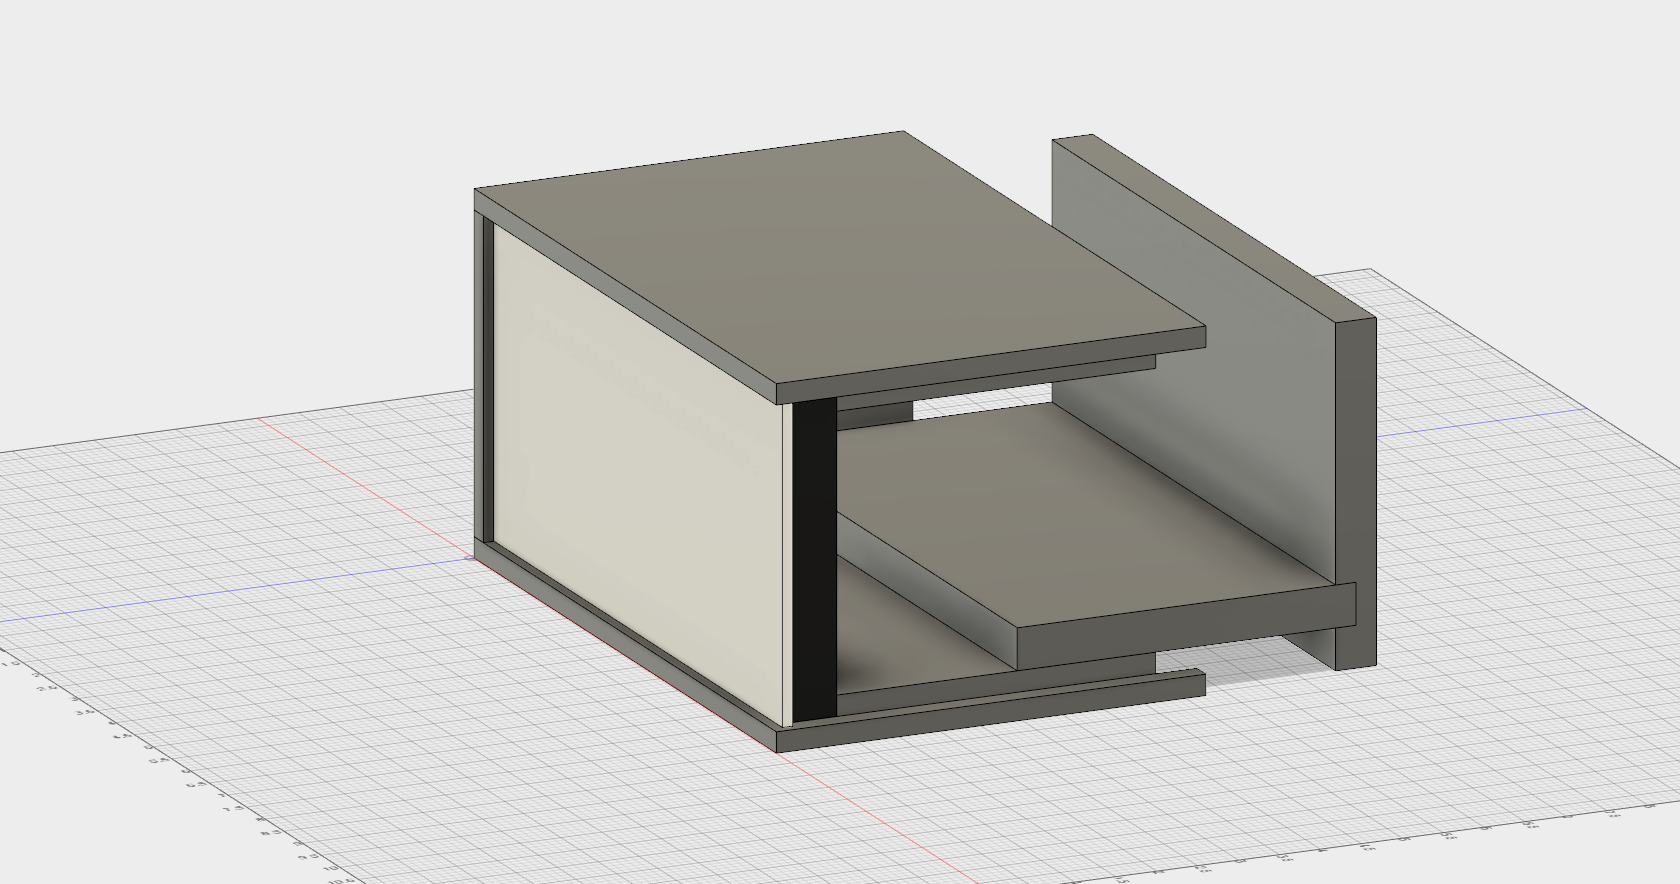
Fusion 360 CAD Models:
Here are a few models created using AutoDesk Fusion 360
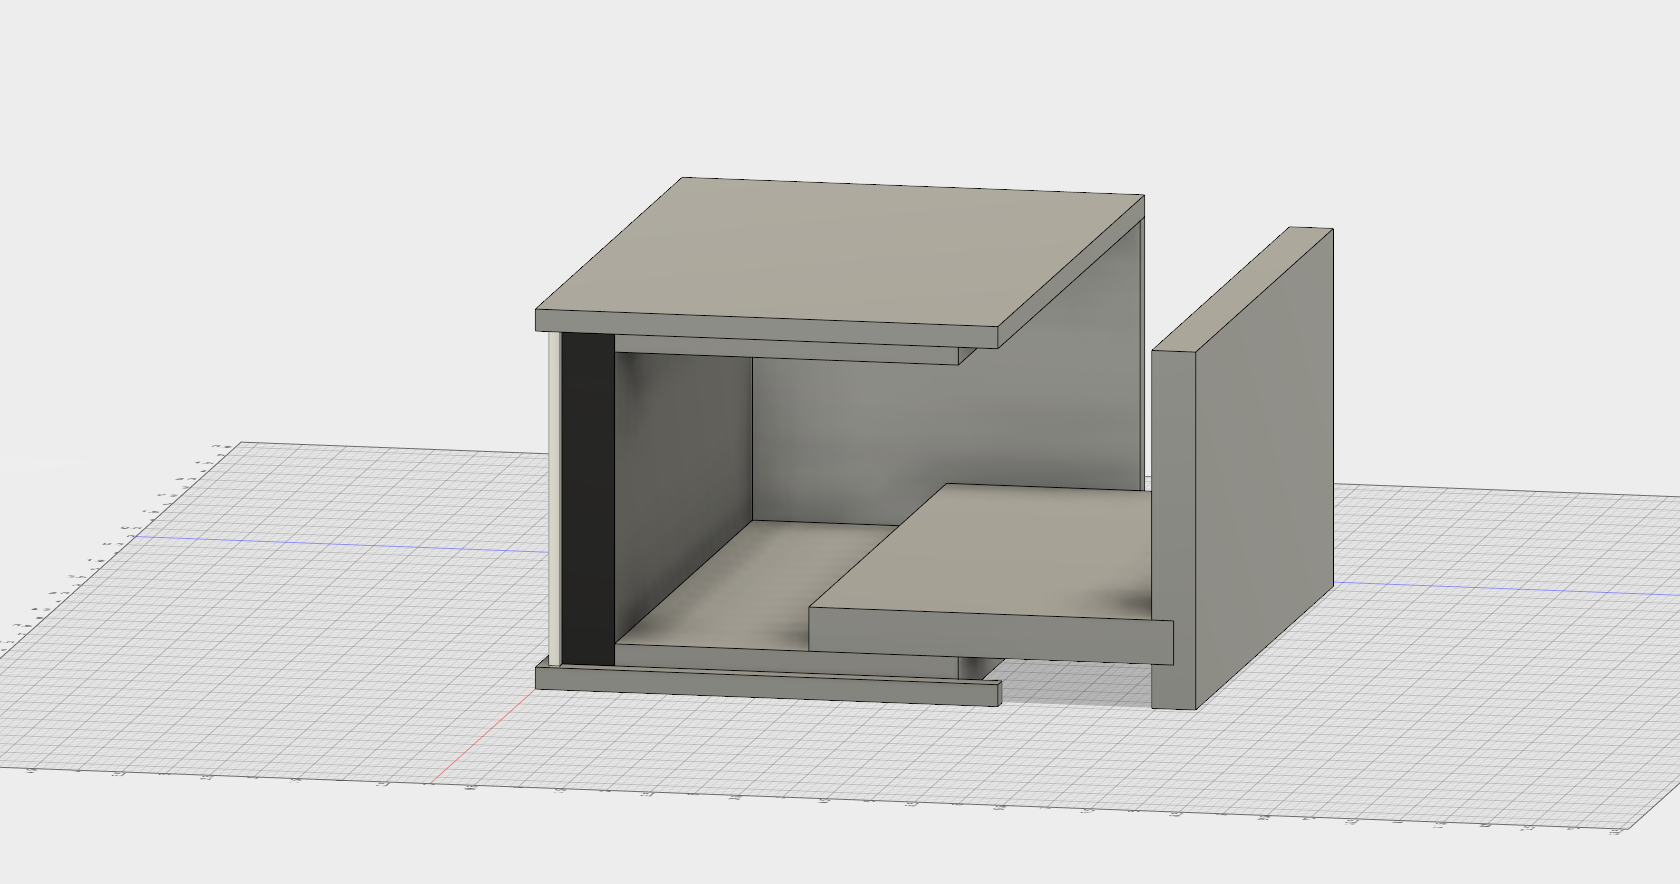
Work In progress:
Here are photos of the initial stages of the project.
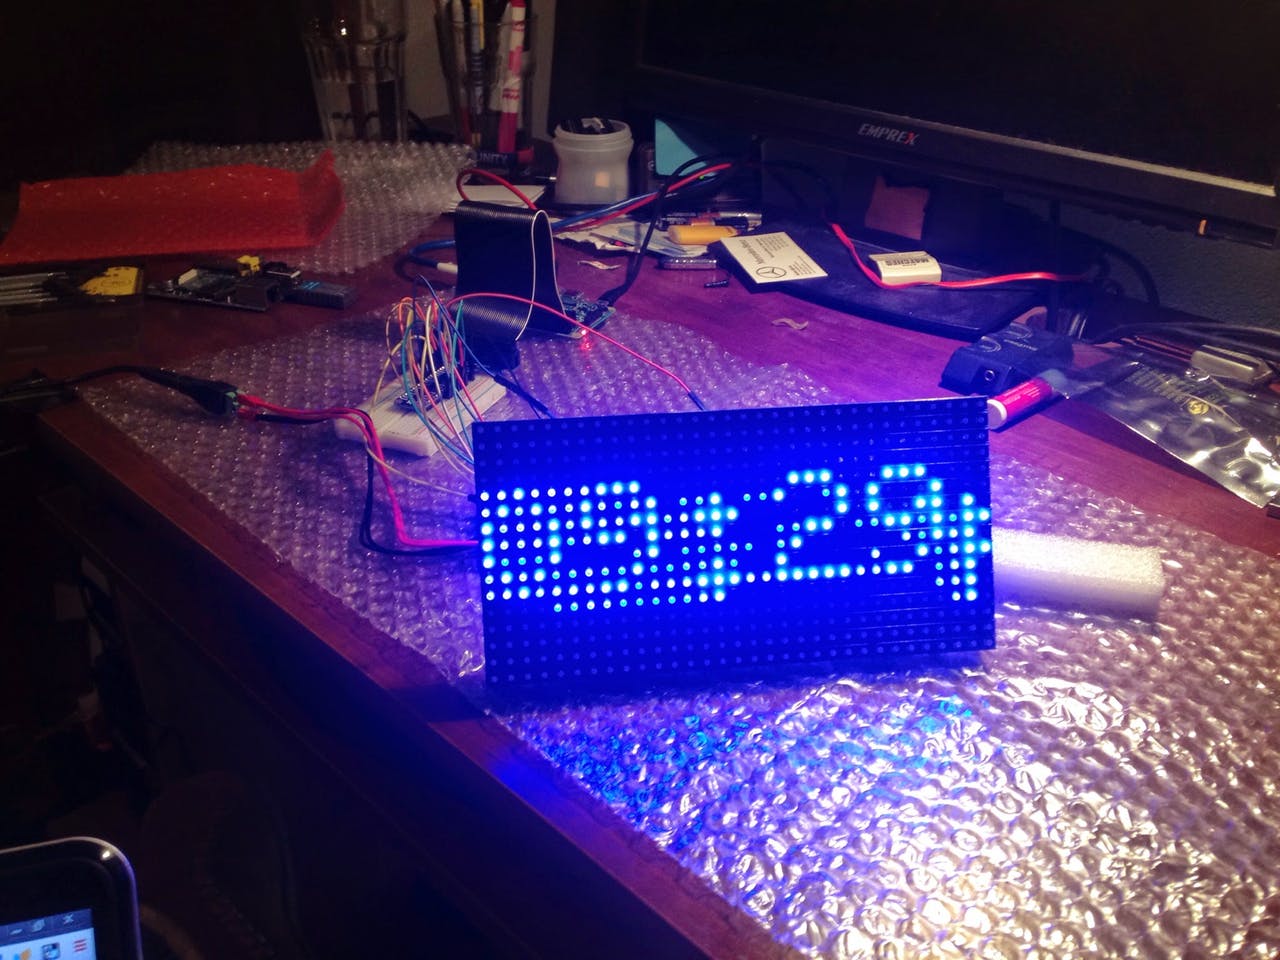
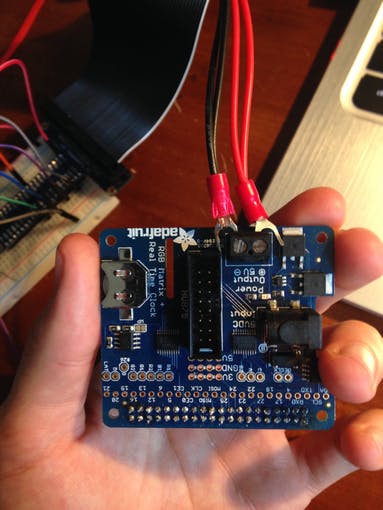
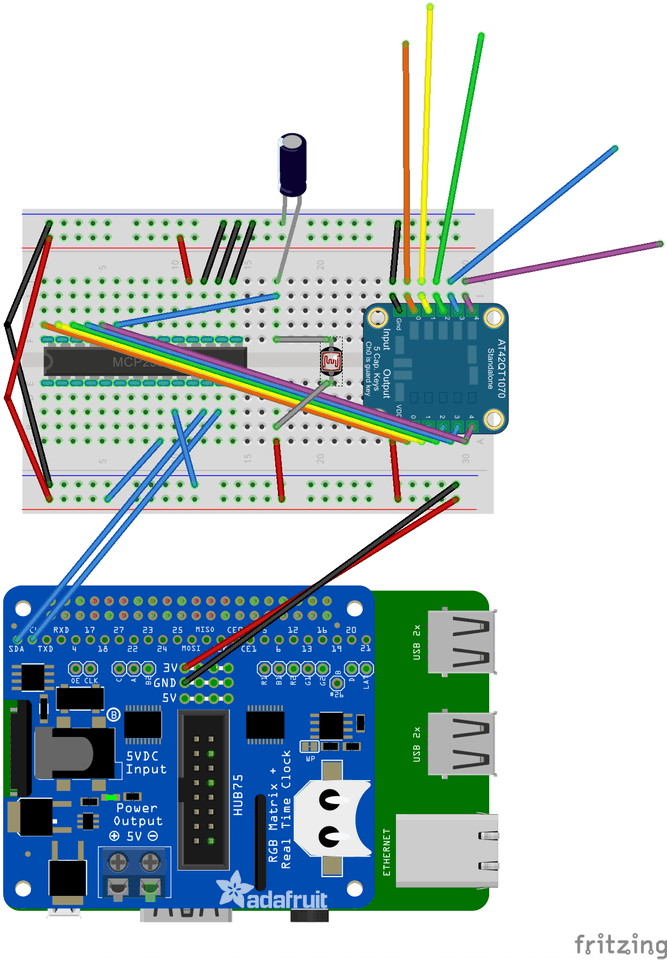
I used fritzing to map out the connections between the Pi Hat, the GPIO expander, Photocell (to control the dimming), and the touch capacitive buttons.
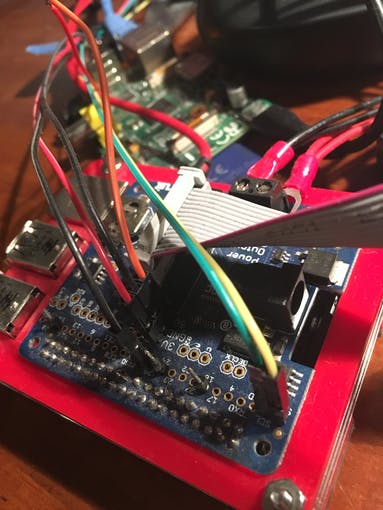
Things aren't always as neat in real life.
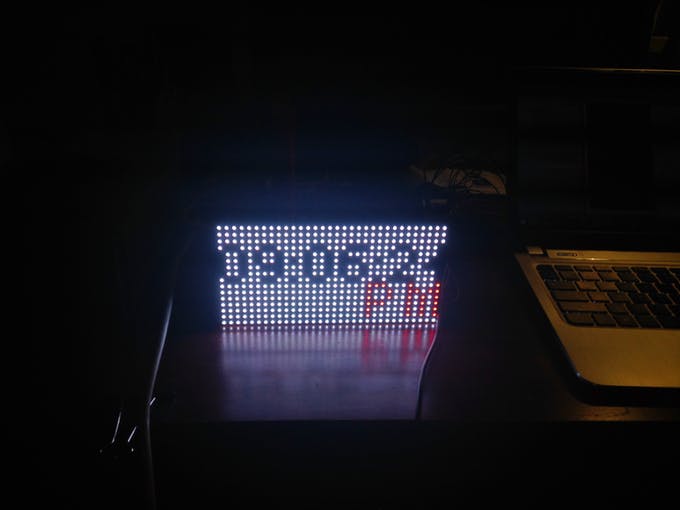
This was an experimental display -- extremely bright!!
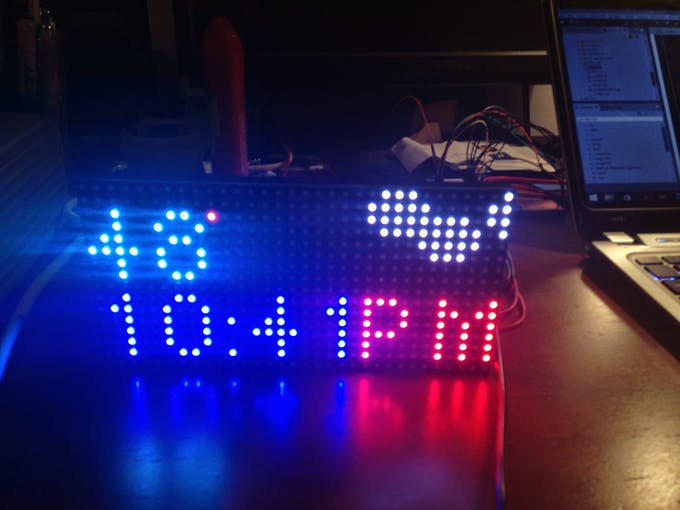
This one displayed the weather (by drawing clouds) and the temperature.
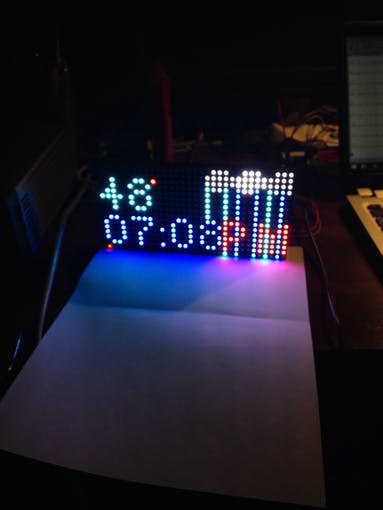
It rains a lot in Portland, Oregon.
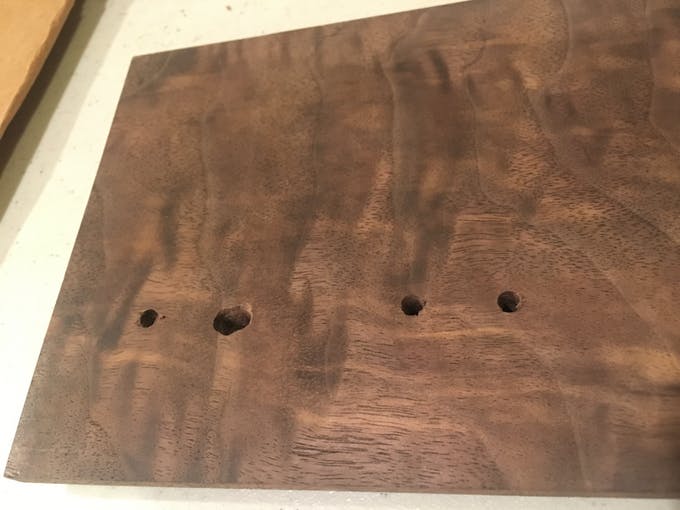
There were some initial miscalculations when aligning the holes to the ones in the copper. I improved tremendously as I went on.
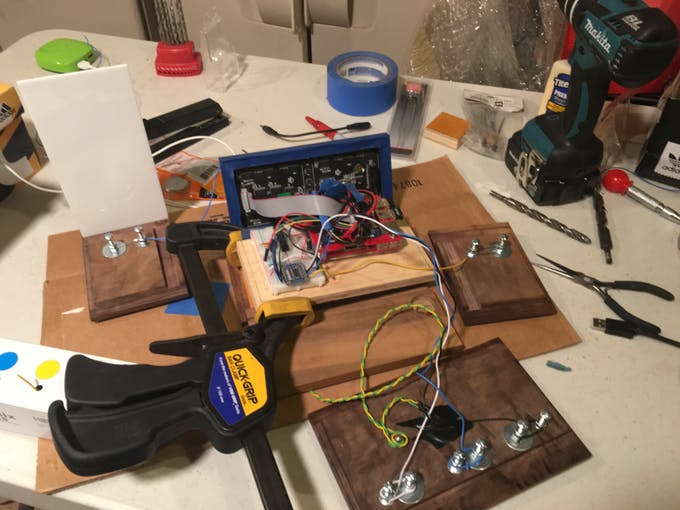
I did a "dry fit" of the case to make sure everything fit before applying the glue.
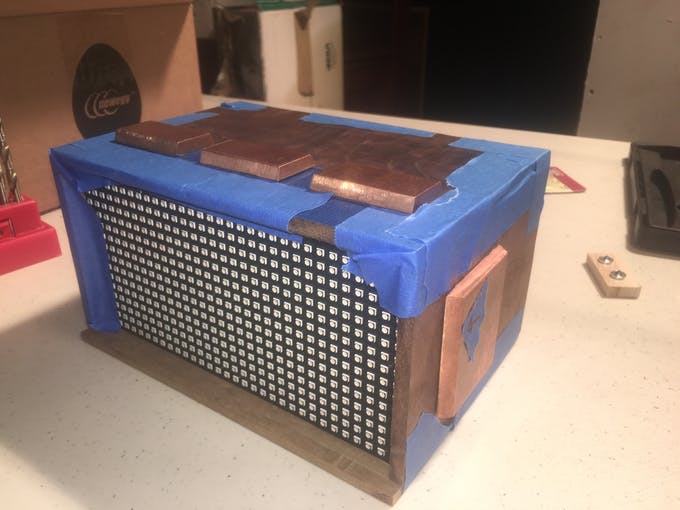
Here it is held together with blue tape (and hopes/dreams) during the dry fit.
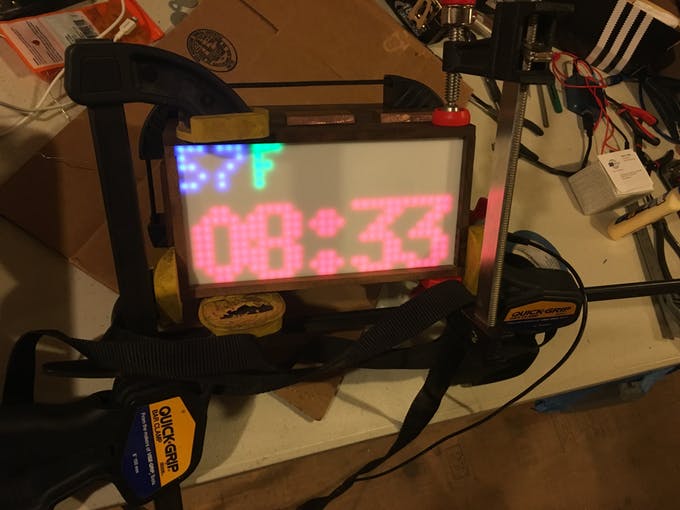
While I was clamping it all together and watching glue dry, I turned it on and it booted right up!
Finished Product!

Bill of Materials:
May 2017 Updates
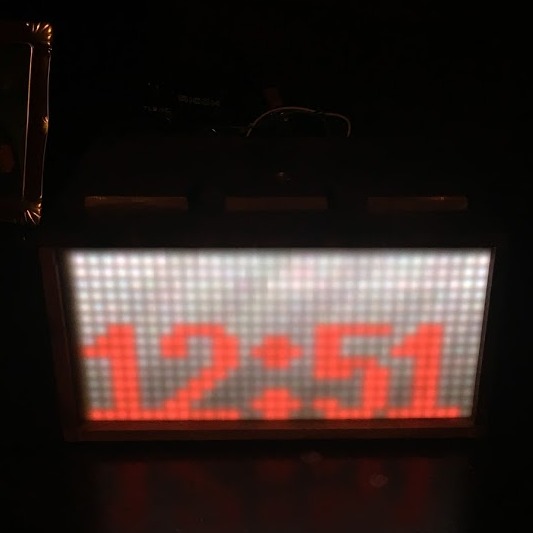
I had some time to work on the "new clock-faces" and experimented with gradients
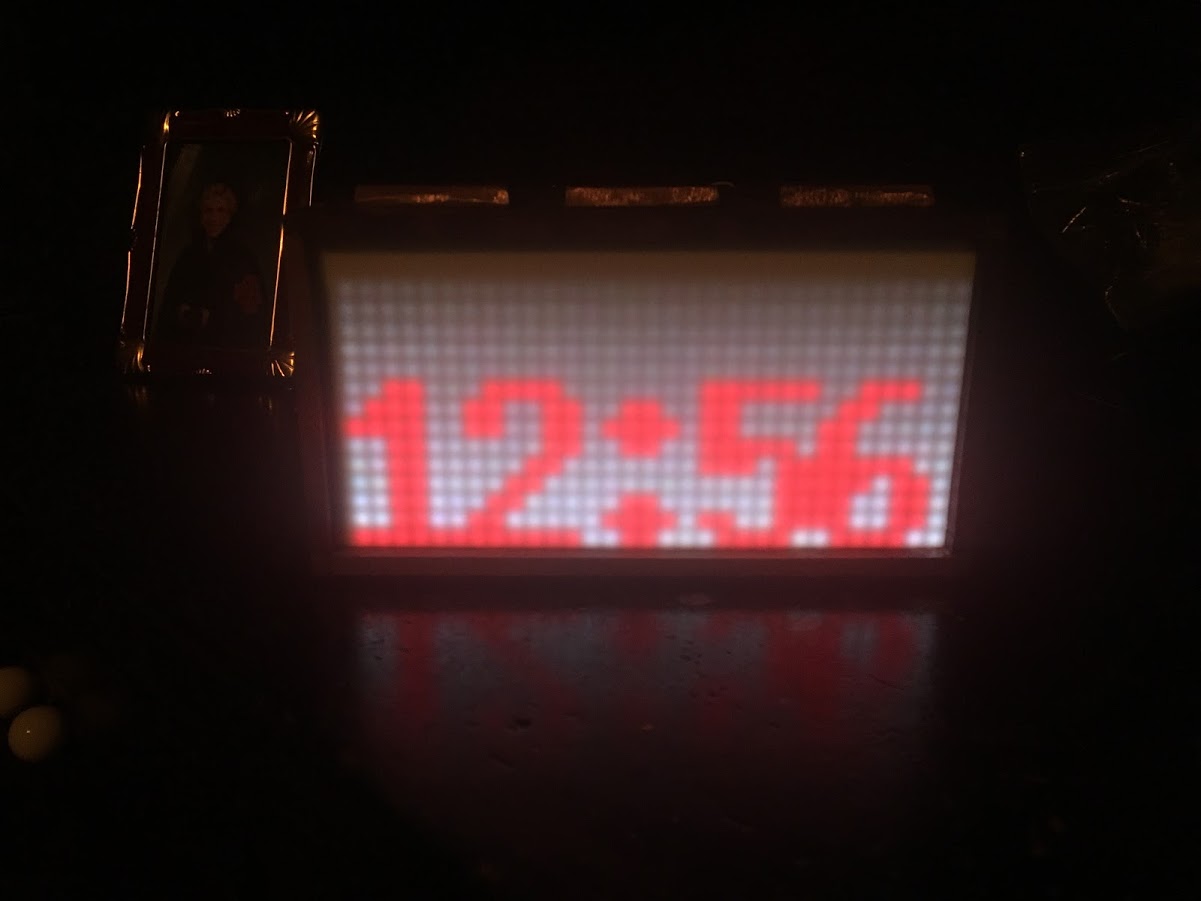
More gradients -- this one is the reverse of the photo above.

This is the clock face I'm using these days. I really like the clouds because they aren't as bright and have some "texture" haha
